Shopping for climbing ropes can be a bewildering task. With various lengths, diameters, weave patterns, and water repellent treatments, it can be hard to make sense of it all. Luckily we are here to help! Our comparative testing over the years has taught us a lot about those specific ropes, which we shared in our Climbing Rope Review. Here we'll dive deeper into some specific things to look for when selecting a climbing rope, and we'll break down the various terminologies used to help make your purchase easier.
Do You Need A Climbing Rope?
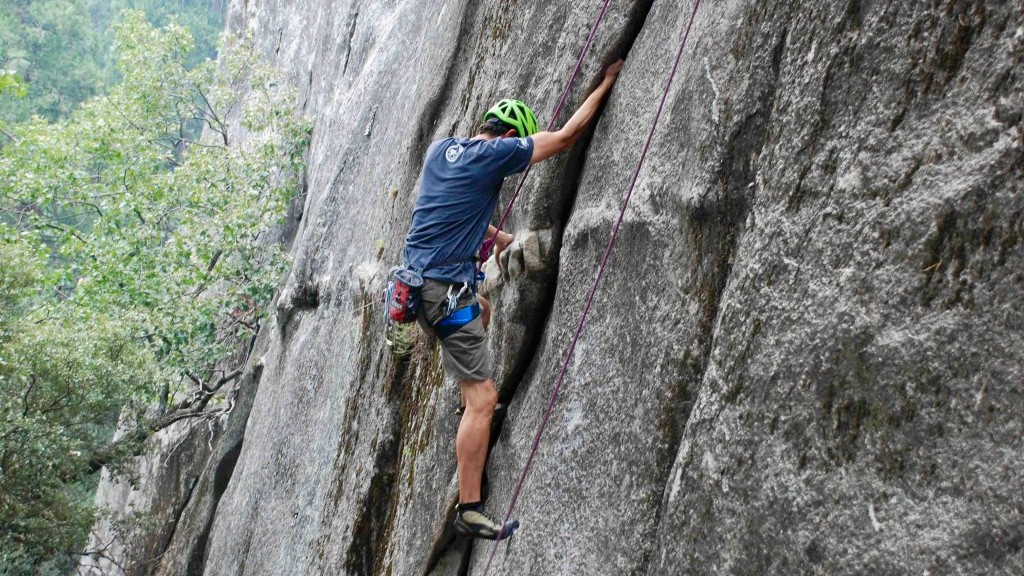
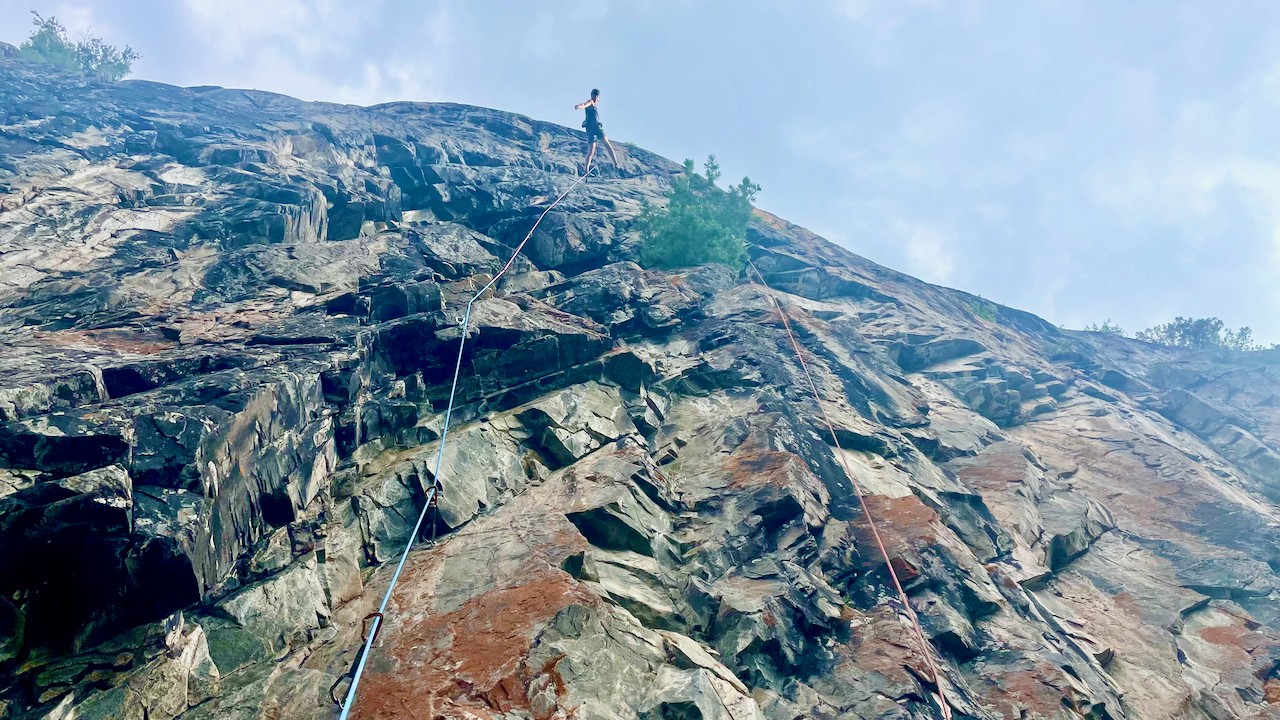
Climbers use ropes to transfer the force of a fall onto an anchor, belayer, or team member. When used correctly, the climbing rope successfully arrests a fall and prevents injury to the fallen climber or rope team. Climbers use ropes whenever the risk of falling is the prevalent concern.
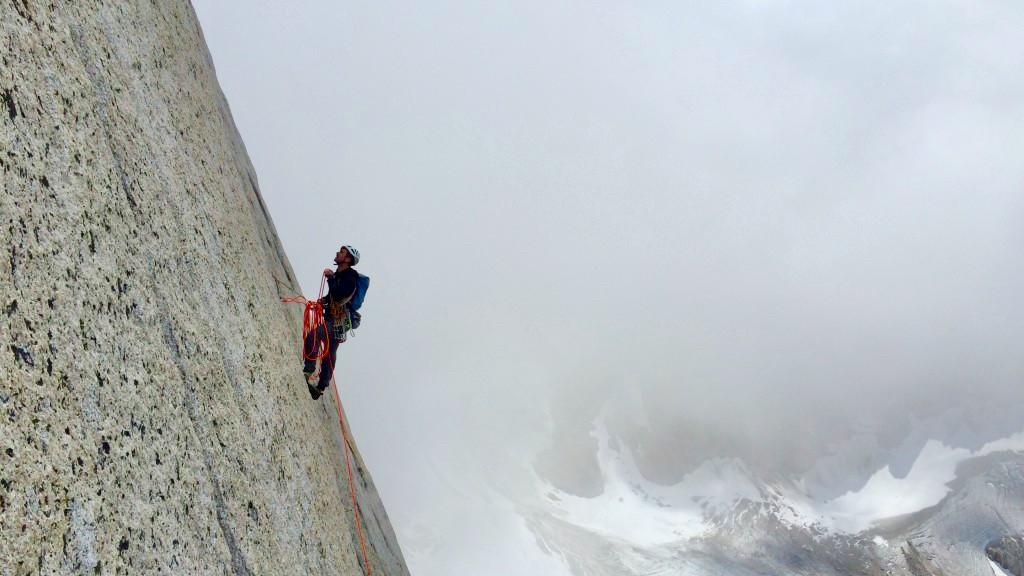
While this assessment is up to the individual climber, the rope is often used in 4th-class terrain, defined by the Sierra Club as “Difficult and exposed scrambling on very steep terrain where a rope is often advisable for safety, given the substantial risk of serious injury or death in the event of a fall.” The rope is almost always used in 5th-class terrain, where vertical cliffs are the norm, the difficulty is considerable, and falls are likely to result in death or serious injury.
Using a climbing rope requires dedicated training. If used improperly, the rope can actually increase the hazard rather than reduce it, because it connects two or more climbers together where one climber's mistake may lead to the entire rope team being killed or injured. We highly recommend seeking instruction from a certified Mountain Guide before using the rope in consequential terrain.
UIAA Specs
Any rope sold for climbing should be approved by the International Climbing and Mountaineering Federation (UIAA) and include on the packaging the scores measured for each of the few required tests. While it may be tempting to geek out on these numbers, we recommend selecting a rope based on diameter, length, and other features rather than UIAA specs. As long as the rope is UIAA certified, your rope is safe. For a complete explanation of these tests, see the actual UIAA Safety Standards.
Fall Rating
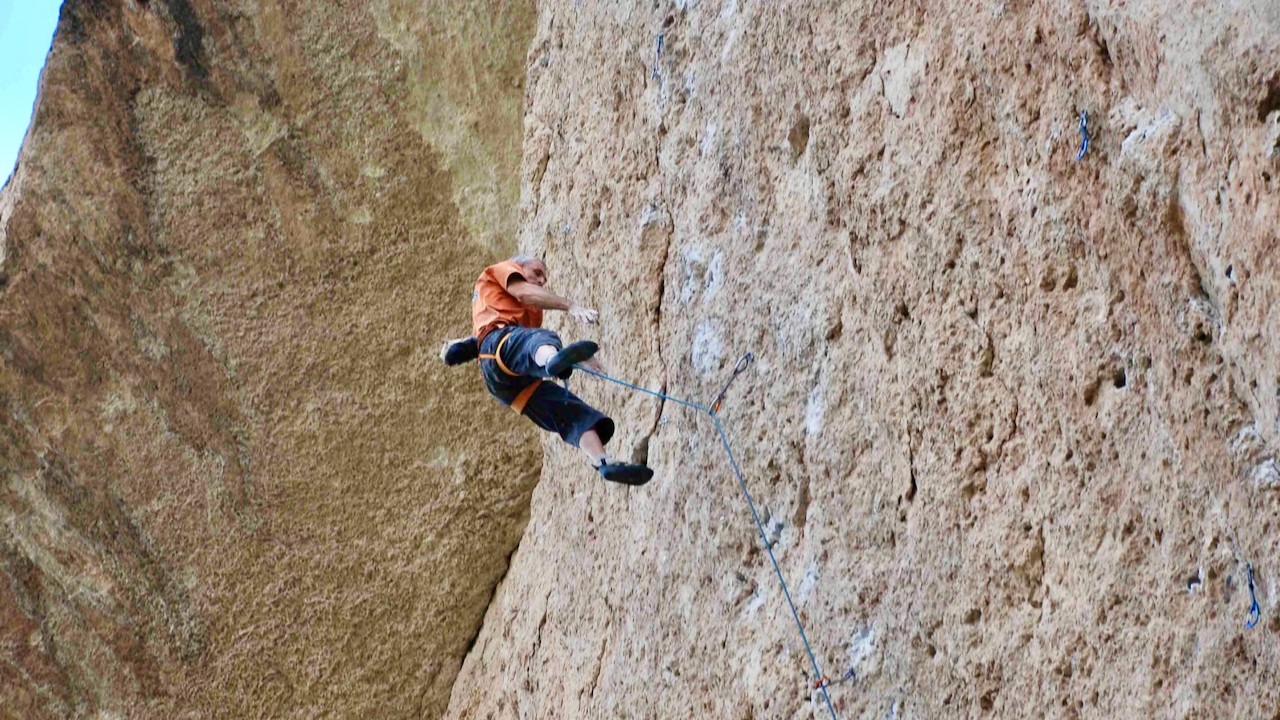
This test uses an 80 kg (176 lbs) weight attached to a 2.6-meter length of rope. The weight is repeatedly dropped from a height of 2.3 meters and takes a 4.6-meter fall, creating a harsh, 1.77-factor fall. The final fall rating is simply the total number of these falls a rope was able to catch before failing. These falls are extremely severe and unlikely to occur often, if at all, in a real-world setting. In fact, there has yet to be a confirmed case of a UIAA approved climbing rope failing from the force of a fall alone. Therefore, as long as a rope passes the UIAA minimum five fall requirement, we believe this number is of little importance. It certainly doesn't mean that you can only take 5 “regular” falls on your rope (less than one fall factor), and if you do take a “hard” fall (1.77 factor or greater), you'll want to consider retiring that rope regardless.
Impact Force
Impact force is the amount of force exerted on the weight during the rating falls, in kilonewtons (kN). The lower the number, the lower the impact will be on you during your own falls. Additionally, a smaller impact force will also reduce the load on the top piece of gear. For clipping beefy bolts this is of little consequence, but it could be an important consideration with questionable gear or when ice climbing. In practice, though, the weight and actions of your belayer can have an even greater effect than the rope on whether a catch is “hard” or “soft.”
Stretch
The elongation of a climbing rope is measured under two different circumstances. Static elongation is the amount a hanging rope stretches when the 80 kilogram weight is added. Dynamic elongation is the length of stretch when the same rope undergoes the first UIAA test fall. For the label, both are converted to a percentage, so a 60-meter rope with 7.5% static elongation will stretch 4.5 meters (15 feet) under an 80 kilogram load. This is a good spec to look at when shopping for a rope specifically for top roping or aid climbing. In those uses, the less static elongation, the better, as you will conserve time and energy by not having to fight the stretch when belaying or jumaring. Dynamic elongation appears to be closely correlated with impact force, and the same considerations for marginal protection should apply. Additionally, the more dynamic elongation, the further you'll go in a lead fall, which is something to consider if you have a stretchy line and there's a potential for a ground fall or hitting a ledge.
Basic Components of a Climbing Rope
Ropes have a few key design features that help keep climbers safely off the ground in the case of a fall. It's important to understand these basic parts before purchasing a climbing rope. All climbing ropes have a core and a sheath, and many have an added dry treatment.
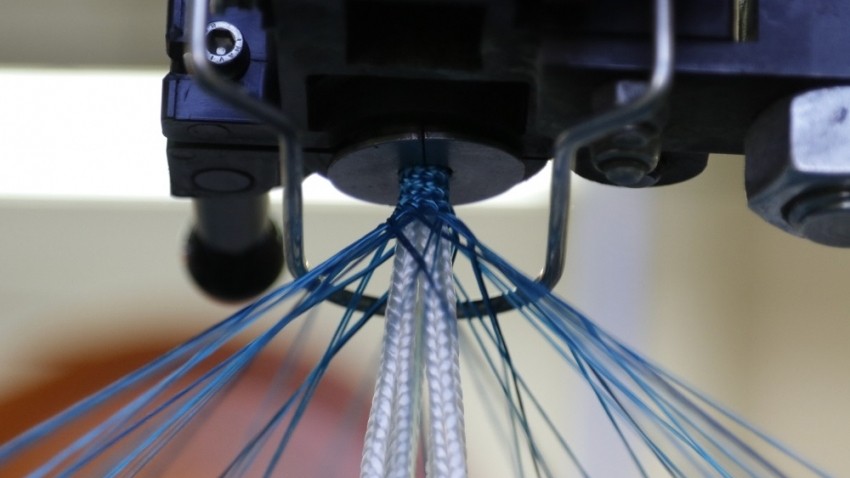
Core
The foundation of any climbing rope is the core. This is the inner section of the rope, hidden from view by the colorful sheath. The core is composed of strands of nylon that are twisted and braided into yarn. Many strands of yarn are then twisted and braided again to create a single core that is incredibly strong.
The strands undergo a shrinking process before being spun into the finished core, which gives each strand some stretch. Much like a shrunken piece of clothing, the final material is smaller than it used to be, and when pulled, can stretch out to a longer length. This important step creates a dynamic rope, which absorbs some of the force generated by gravity when a climber falls. By stretching, the rope increases the length of time over which the falling force is transferred to the rope, which reduces the highest force transferred to the rope, anchor, and climber. Without dynamic properties, a climbing rope stopping the force of a falling climber would transfer all of that force directly onto the anchor and the climber's waist, with disastrous consequences. Therefore, all climbing ropes for leading and top-roping are dynamic.
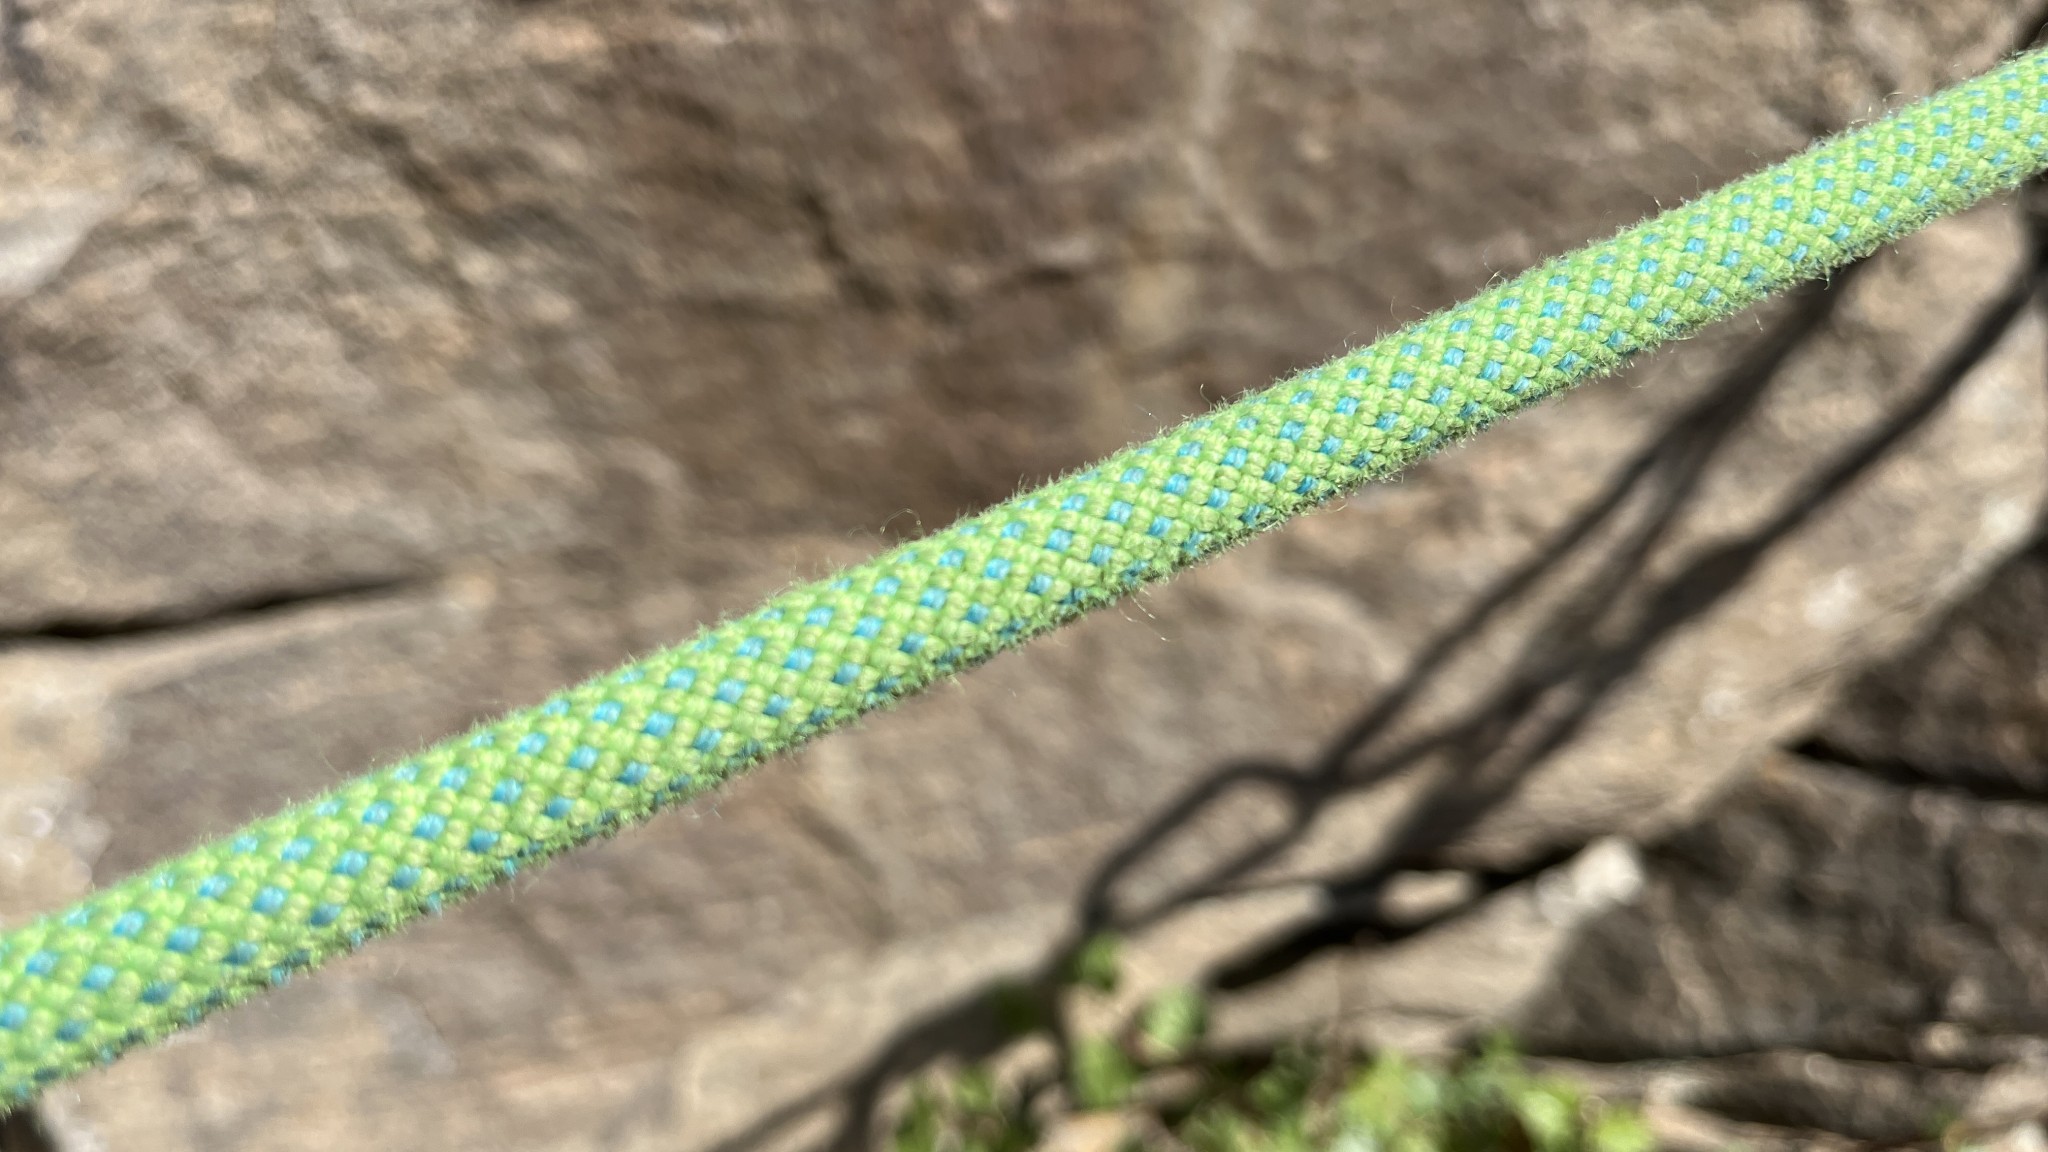
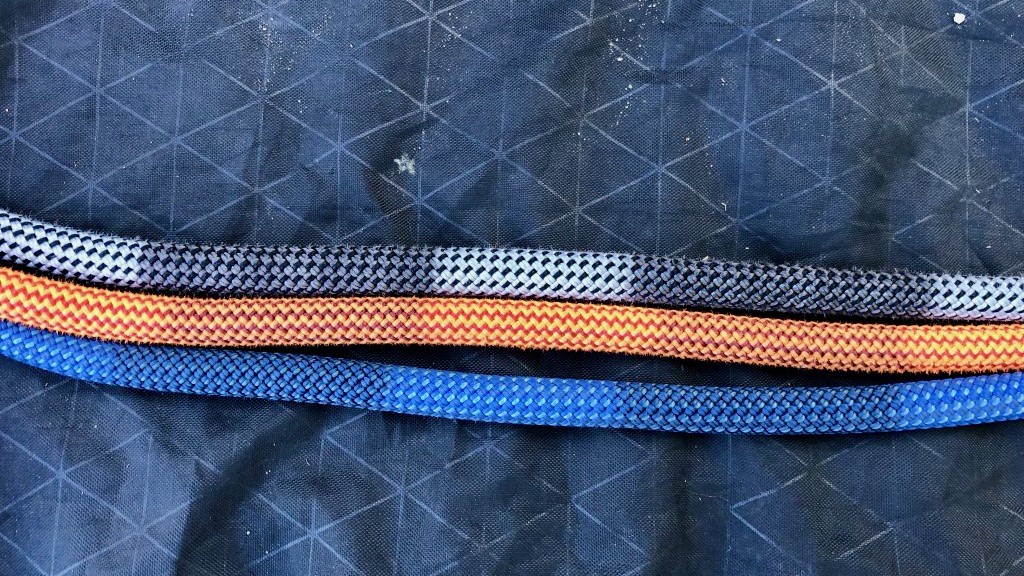
Sheath
The colorful, woven exterior of the climbing rope is the sheath. Made from similar strands of nylon as the core, these strands are woven together in a way to provide abrasion resistance rather than strength. The sheath is designed to take wear and tear so that the core doesn't have to. Each strand can be cut in different places without slipping out of place, thanks to a tight weave. The sheath strands can be woven together in different ways to provide different feels and roughness from rope to rope. The sheath is also the component of the rope that contains the middle mark or bi-pattern feature.

Each rope has a published “Sheath Percentage”, which specifies how much of the rope's mass is sheath strands, compared to core strands. Each rope must pass UIAA testing to ensure that it is strong enough to catch falls, so there's no fear that a rope has too much sheath, compared to core. However, a higher sheath percentage can increase durability.
Dry Treatment
Beyond the strands of the core and the sheath, the final component of each rope is the dry treatment. This is a chemical treatment that adds waterproofing to the rope. This is important for a few reasons. First, a wet rope loses some of its dynamic properties. A rope that is less stretchy increases the peak loads on the anchor and the climber. Second, a wet rope is heavier than a dry rope, which might affect a lead climber by increasing the weight they need to haul up the mountain. And third, a wet rope might have less friction when running through the belay device, making a fall more difficult to stop
Each company develops their own proprietary dry treatments, which are effective to varying degrees. Some ropes aren't dry-treated at all. The UIAA certifies “Dry” ropes that absorb less than 5% of their mass during a significant submersion test. Some dry treatments measure up to this test, while other treatments don't quite meet the standard, but still provide some water resistance. Dry treatments also help prevent the rope from absorbing dirt and grime, adding to the lifespan of the rope.
Choosing a Climbing Rope
Now that you understand the components of each climbing rope, we'll walk you through the key decisions to be made when purchasing one.
Diameter
Since all climbing ropes share the same basic components and functions, the primary difference between ropes is their diameter. Skinny ropes are lighter but less durable, making them more suitable for alpine and multi-pitch climbing where falling is less common. Thicker ropes are heavier but more durable, making them better for top-roping and sport climbing on single pitch routes where falling and hanging is more common.
Thick Workhorse Ropes (9.5-10 millimeters)For gym climbing, outdoor top-roping, and big wall climbing, choose a rope with a diameter of 9.5 millimeters or more. These ropes last a long time, and more importantly, have less elongation when weighted. Top-roping can be dangerous when climbers fall close to the ground, because there is twice as much rope to stretch compared to lead climbing. The potential for “ground falls” is significant when top roping 15 feet or less off the ground, and thicker, less stretchy ropes minimize this risk. A thicker diameter also means there is more material to spread out wear and tear, increasing durability.
Ideal Uses: Top-roping, gym climbing, big walls, aid climbing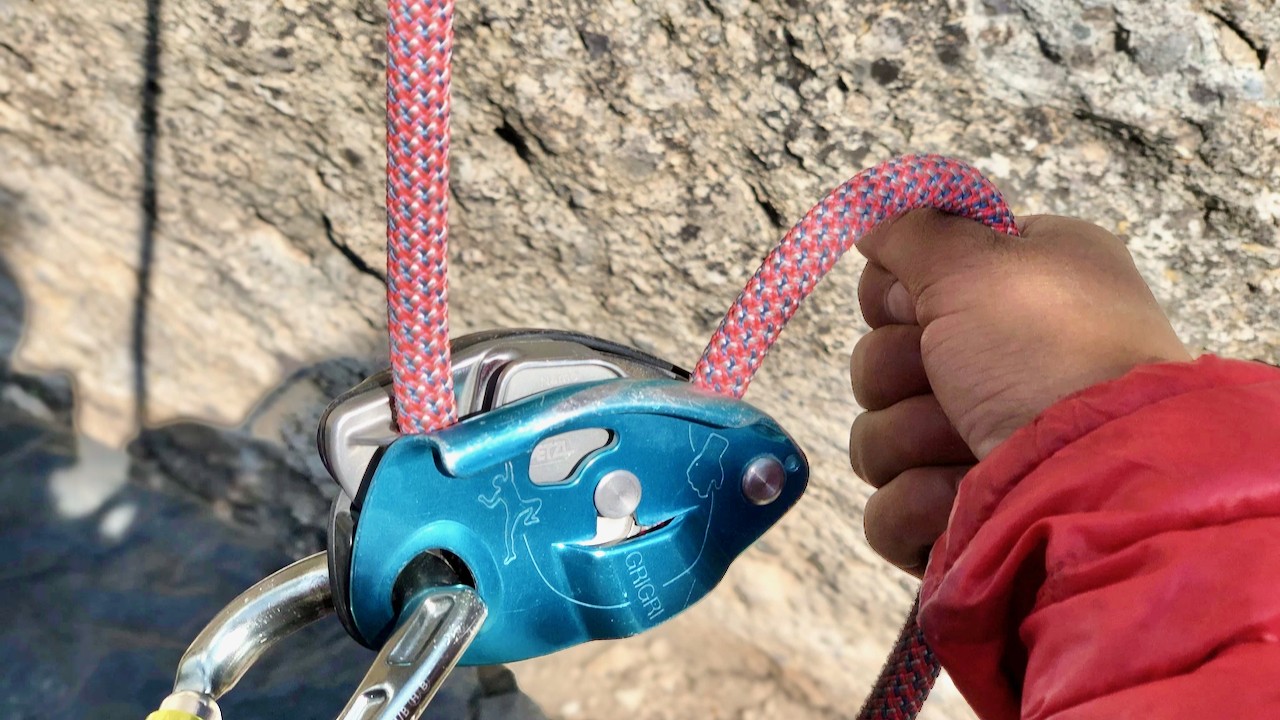
Medium Diameter Ropes (8.9.-9.5 millimeters)
Sport climbers and hard trad climbers need a rope that can withstand repeated falls, takes, and lowers, while also being light enough to aid the climber in sending their route. If climbers are expecting to “work” a route and spend a lot of time hanging and falling, they should choose a rope closer to 9.5 millimeters, while redpoint attempts are commonly done with ropes as skinny as 8.9 millimeters. Most sport climbers choose a diameter somewhere in the middle of this range (9.2 or 9.3 millimeters). Climbers who spend a lot of time climbing long routes (30 meters or longer) should choose a rope on the skinny end of the spectrum (8.9 to 9.1 millimeters).
Multi-pitch climbers don't spend as much time hanging and falling, but they still need a rope that can withstand abrasion from being repeatedly pulled over sharp rock, high above the ground. They also need a rope that is light enough to carry over many pitches of climbing and long approaches. The sweet spot for multi-pitch climbers is a diameter of between 8.9 millimeters and 9.4 millimeters. Again, the thinner side of this spectrum will provide a lighter rope, while the thicker end will promise more durability and confidence.
Ideal Uses: Sport, trad, multi-pitch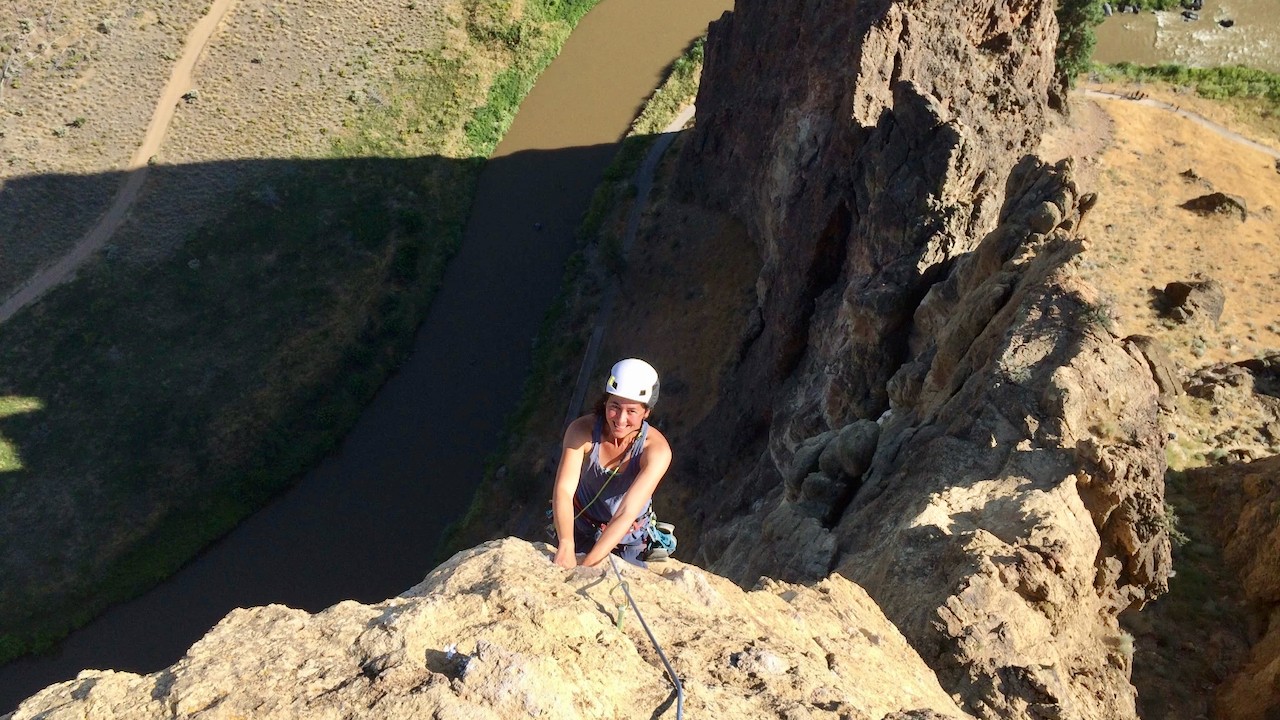
Skinny Ropes (8.5-8.9 millimeters)
Climbers embarking on alpine rock and ice climbs should choose a rope that minimizes weight while still promising security. These climbers will want to reach for the lightest single ropes on the market, between 8.5 and 8.9 millimeters. These ropes are still rated to be used as single ropes in all disciplines, but their significant elongation makes them less suitable for top-roping and hard multi-pitch climbing. They also wear out faster than other ropes, since abrasion is spread out over less material than thicker options.
Ideal Uses: Alpine rock, ice, hard redpoints or onsight attempts, ultra-light attempts
Length
During the early years of climbing, a 50-meter rope was the standard. The weight of a rack of heavy pitons limited the amount of protection that could be carried, so pitches had to be shorter. Modern lightweight climbing gear has reduced this burden and allowed climbers to safely protect longer and longer pitches. 60-meter ropes are now the norm for multi-pitch climbing and rappelling descent routes. Increasingly, single-pitch route developers are placing anchors that require a 70-meter rope to lower to the ground, and local customs generally dictate the standard rope length. In isolated destinations, an 80-meter rope is needed where single-pitch climbs are reaching 40 meters (or more, if overhung). Most climbing gyms require a 40-meter rope for lead climbing. The longer the rope, the higher the price.
40-meter RopesThese ropes are generally suited for gym climbing. They may be useful at some outdoor single-pitch destinations, but if you have any aspirations of outdoor climbing, choose a longer rope. If you only plan on gym climbing, a 40-meter rope is sufficient, but check your gym's regulations before buying.
Ideal Use: Gym climbing
50-meter Ropes
This length is very common in Europe, particularly for multi-pitch and alpine climbing. Most anchors are set for 50-meter pitches or 25-meter rappels in the Alps. This is also a good length for traditional alpine rock climbing in the US, since 50-meter pitches allow more successful communication between belay ledges than 60-meter pitches. Many climbs at older crags in the US will allow the use of a 50-meter rope, but rappel routes are often re-bolted for 30-meter rappels, requiring a 60-meter rope.
Ideal Use: Multi-pitch and Alpine in Europe
60-meter Ropes
Most single-pitch destinations have anchors set within 30 meters (100 feet) of the ground, meaning a 60-meter rope will work for most of these routes. Additionally, most multi-pitch climbs in the United States are developed with a 60-meter rope in mind. Many routes have bolted anchors at 60-meter intervals, and most rappel routes in the U.S. are set with 30-meter intervals between anchors. As such, a 60-meter rope is still the standard rope length for climbing in the United States, and will work for most climbs.
Ideal Uses: Single and Multi-pitch in the U.S.
70-meter Ropes
Increasingly, route developers are looking for taller cliffs and caves for challenging single-pitch climbs, setting anchors at 35 meters above the ground. If you climb on routes like this, you'll need a 70-meter rope. In general, 70 meters is too far between multi-pitch anchors for successful communication between partners, so 70-meter ropes are rarely needed for multi-pitch climbs. Occasionally, rappel anchors are rigged at 35-meter intervals, requiring a 70-meter rope for the descent. This practice is discouraged, since it increases the amount of rope needed on a climb, slowing down transitions at each belay, with little decrease in descent time.
Ideal Use: Difficult single-pitch routes in the U.S.
80-meter Ropes
Since 80-meter pitches are impractical for multi-pitch climbing, 80-meter ropes are reserved for isolated single-pitch crags. Some destinations feature 40-meter (130-foot) cliffs and caves, requiring an 80-meter rope to reach the ground safely. However, these destinations are few and far between, including places like Indian Creek, Kalymnos, and Siurana. If you are gearing up for a climbing trip, check the standard rope length at your destination by calling a local gear shop or guide service.
Ideal Use: Difficult single-pitch routes at specific destinations
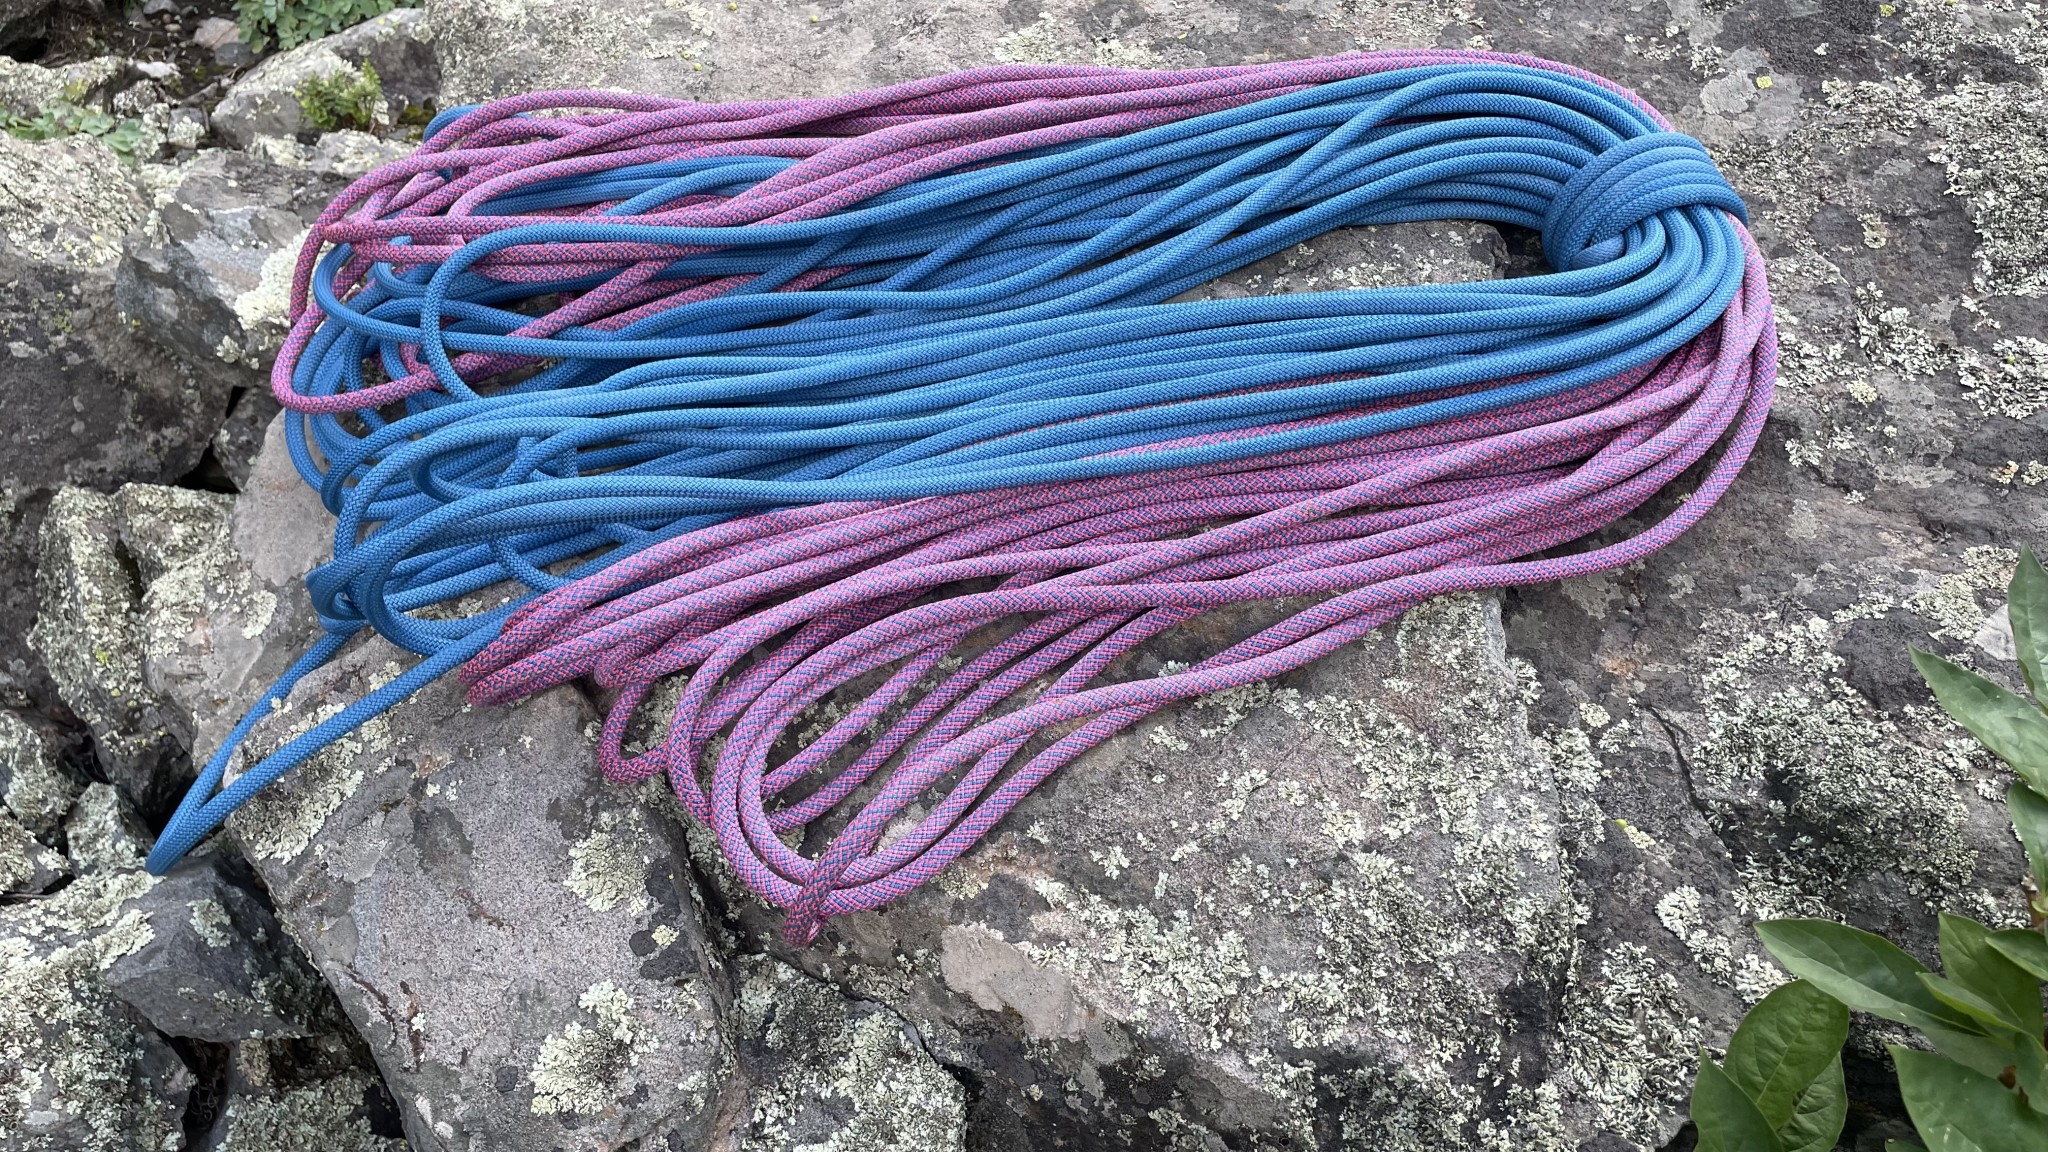
Middle Marks and Bi-Patterns
Most ropes come with a middle mark, which allows the user to quickly find the middle to rig a rappel, set up a top-rope, or determine if there is enough rope to descend a pitch. It's such an important feature that we wouldn't consider purchasing a rope without one. Some ropes use a dyed or inked middle mark, which can fade over time. Others feature a change in the sheath's color pattern at the middle of the rope, which makes the middle mark easier to see and more permanent.
Bi-pattern ropes are more expensive than ropes with dyed or inked middle marks. But, bi-pattern ropes are more useful than middle-marked ropes for long single-pitch routes where it is important to know if the rope will reach the ground when lowering, since the middle of the rope is more obvious. Bi-pattern ropes are also easier to use than those with inked middle marks when rigging multiple rappels down a multi-pitch or alpine route. If you expect to do a lot of multi-pitch climbing, a bi-pattern rope is highly recommended if the added cost is acceptable.
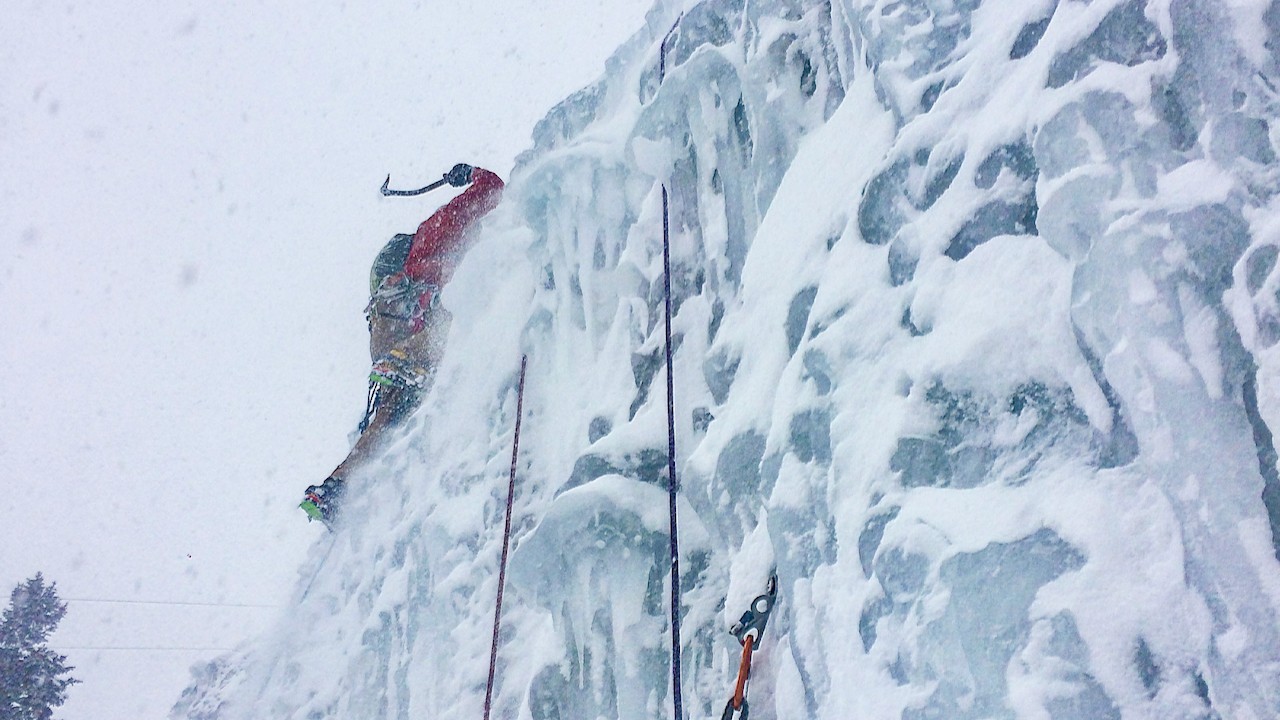
Dry Treatments
According to the manufacturers, a wet climbing rope can lose a significant amount of dynamic strength, up to 30%. A thoroughly soaked rope also adds substantial weight. While climbing ropes stay dry most of the time, they are sometimes pulled into creeks or rivers while rappelling, and they can get wet if rain moves in while you're climbing. Ice and alpine climbs are sure to get your rope wet. To prevent ropes from absorbing moisture, a water-repellent coating can be applied to the fibers during the manufacturing process. This treatment also increases the price of the rope.
If you plan on snow or ice climbing, a dry-treated rope is a necessity. If you plan on dry rock climbing only, it's worth considering that dry treatments also help repel dirt and grime. This extends the lifespan of your rope, which might be worth the added cost.
Triple-Rated Ropes
Most skinny single ropes (between 8.5 and 9.2 millimeters in diameter) are also certified to be used as half ropes and twin ropes. While these rope systems are useful in some instances, most users are looking for a single rope, and that is how we have tested them. Advanced users who are familiar with half and twin-rope techniques will appreciate the versatility offered by triple-rated ropes, but most users don't need to concern themselves with this feature. If you are interested in learning more about advanced rope techniques, we recommend taking a course with a Mountain Guide.
Conclusion
We hope this buying advice article has been informative and aided in your quest to buy a new rope. As always, remember to double check your knot and belay, stay safe out there, and happy climbing!