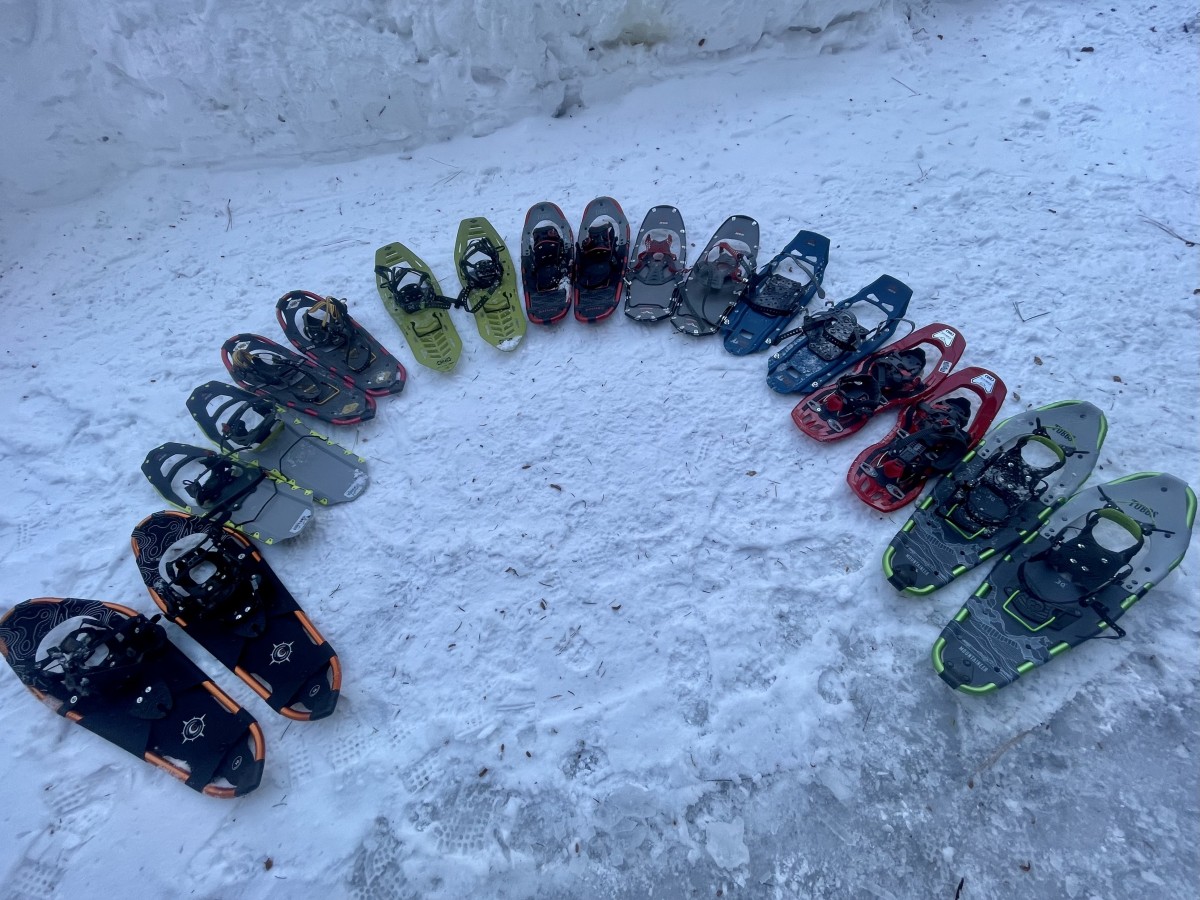
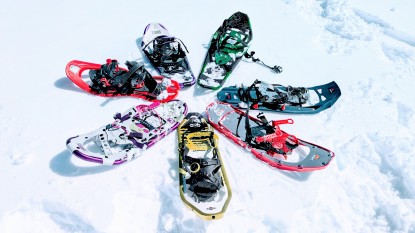
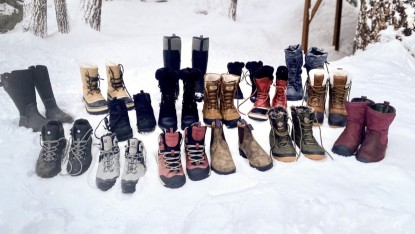
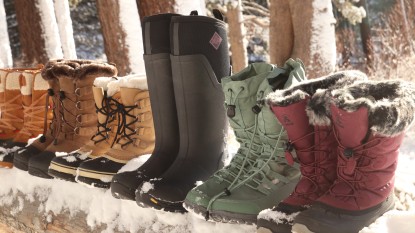
Humans have been using snowshoes for thousands of years. They were designed to enable people to hunt, travel, and haul loads in the winter. The designs mimic the footprints of snow-traveling animals such as the snowshoe hare, bear, and beaver. In the 1900s, this method of travel began to become popular for recreational purposes. Snowshoes were made of wood and rawhide, and these models can now be seen adorning walls in mountain towns. Modern materials add stiffness and durability and require little to no maintenance. While still used for hunting and daily work, they are most commonly used as a form of winter recreation.
What to Wear on Your Feet in the Winter
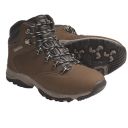
Hiking Boots
Winter Boots
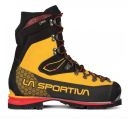
Mountaineering Boots
Snowshoes
Why Use Snowshoes?
Three-season hikers may extend their hiking into a fourth season by traversing snow-covered trails. Many hiking trails are accessible and even maintained in the winter precisely for snowshoeing and skiing. Snowshoes are a great alternative to skis for winter backpackers traveling to backcountry huts and for snowboarders looking to access backcountry terrain. They also provide an efficient means of travel for mountaineers looking to get deep into secluded basins and atop mountains. They are versatile, lightweight, and relatively inexpensive.
Types Of Snowshoes
Recreational
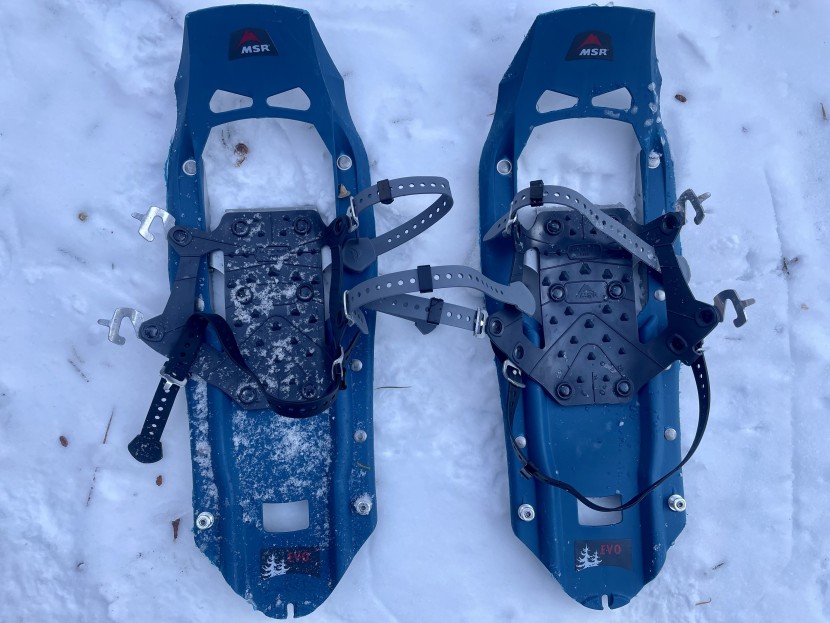
Recreational models are designed for traveling on flat to rolling ground. They are not sufficient for steep, difficult, or technical terrain. The frames are wider than racing models and similar or narrower to backcountry models. Crampons on recreational models are semi-aggressive, and they have a wide range of applications well suited for leisurely outings. Models for recreational use should focus on comfort, binding security, ease of use, and a traction system suitable for the terrain.
Backcountry
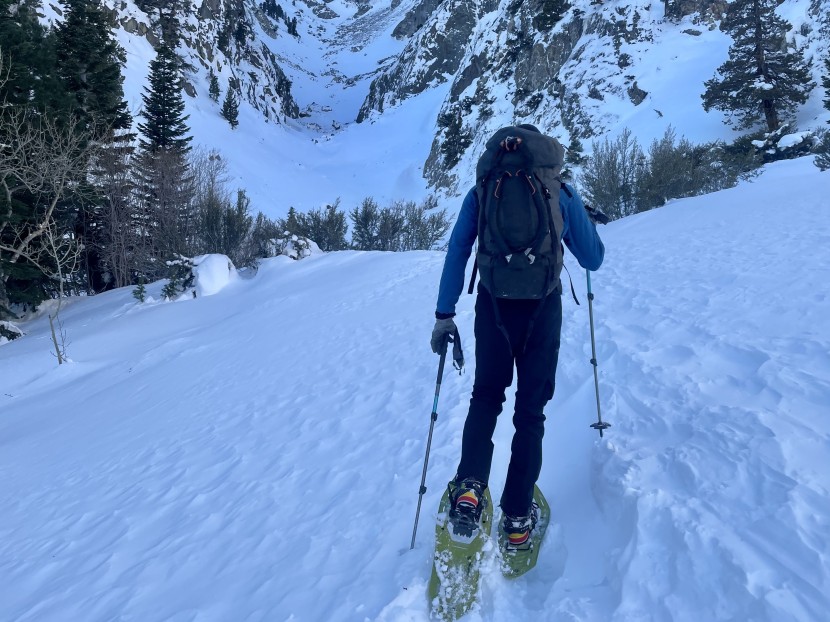
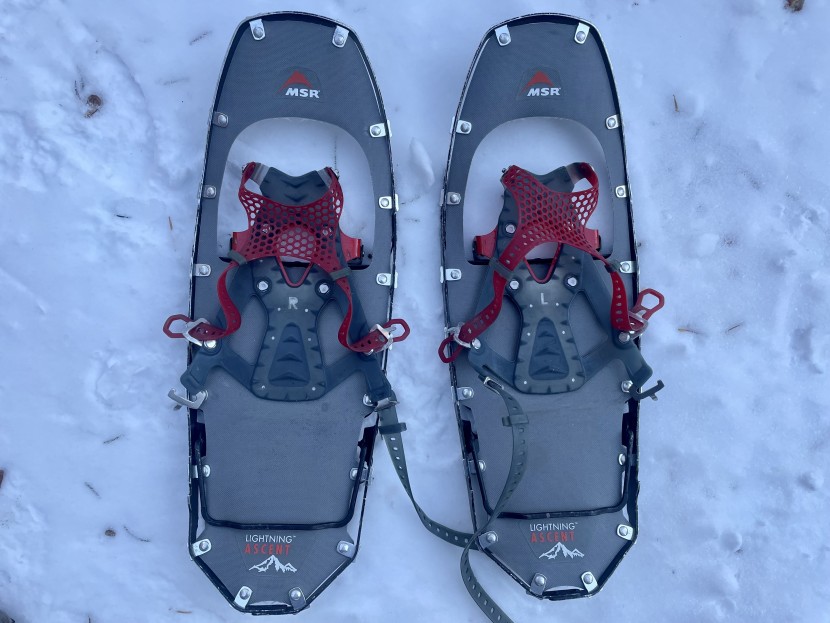
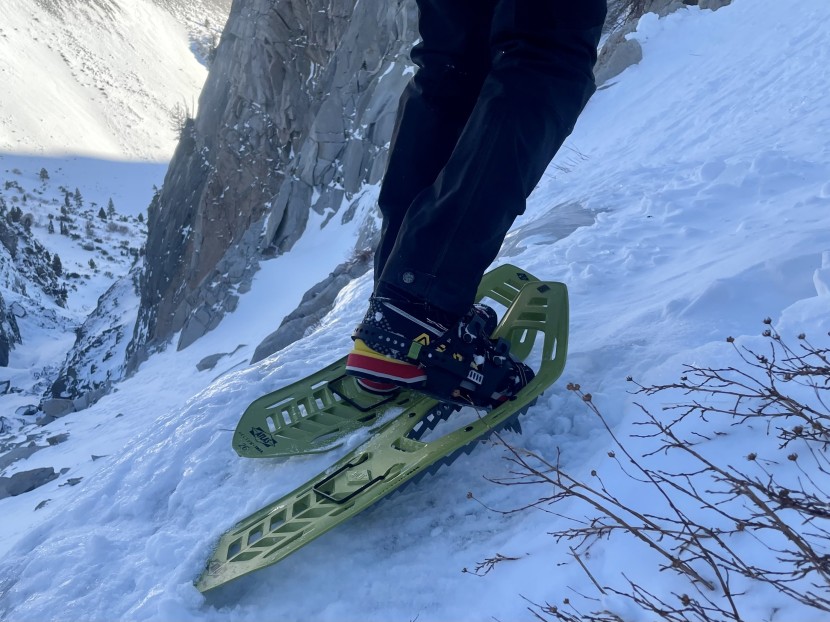
Consider a backcountry model for deep snow, steep terrain, and technical travel. Suited for mountainous terrain, backcountry models are great for hikers hoping to leave groomed trails behind. Winter hikers, backpackers, and mountaineers will appreciate technical features like aggressive crampons, long tails, and wide frames. Durability cannot be compromised in the backcountry as replacement or repair of gear may be hours or days away, so these models are built with more rugged materials. Additionally, flotation and traction are key while in the backcountry, so these models typically have a larger surface area for increased flotation and traction systems in addition to the standard under-foot crampon.
Racing and Running
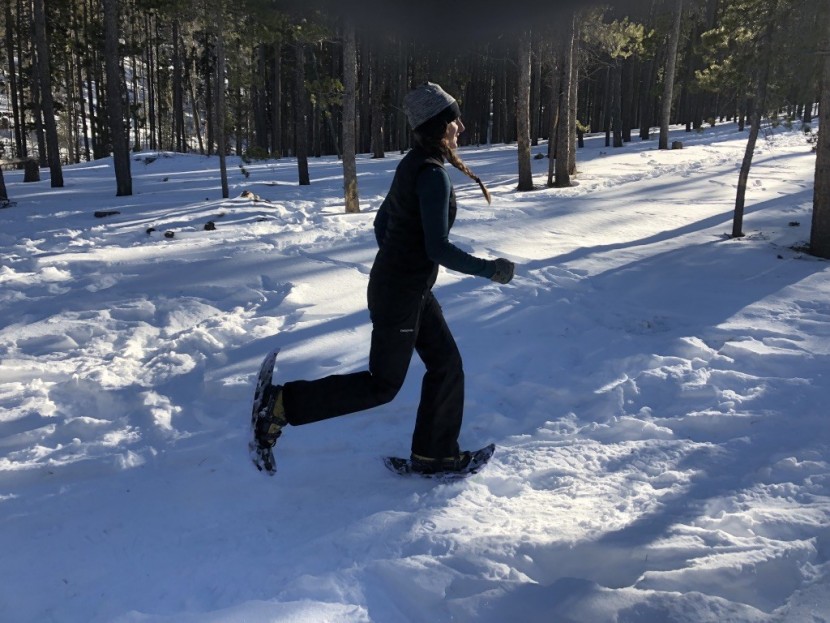
While recreation and backcountry models can sometimes cross over between the two styles, running and racing models are uniquely designed for maximum efficiency on packed snow. They're usually lighter, shorter, and narrower than other types. Flotation is not a big deal as running and racing typically take place on packed or groomed trails. The crampons are semi-aggressive for maintained traction while in stride. None of the models in our current review are designed for this. If you're considering pursuing this niche activity, look for a lightweight frame, compact size, and adequate traction for no-slip movement.
Snowshoe Anatomy
Frame
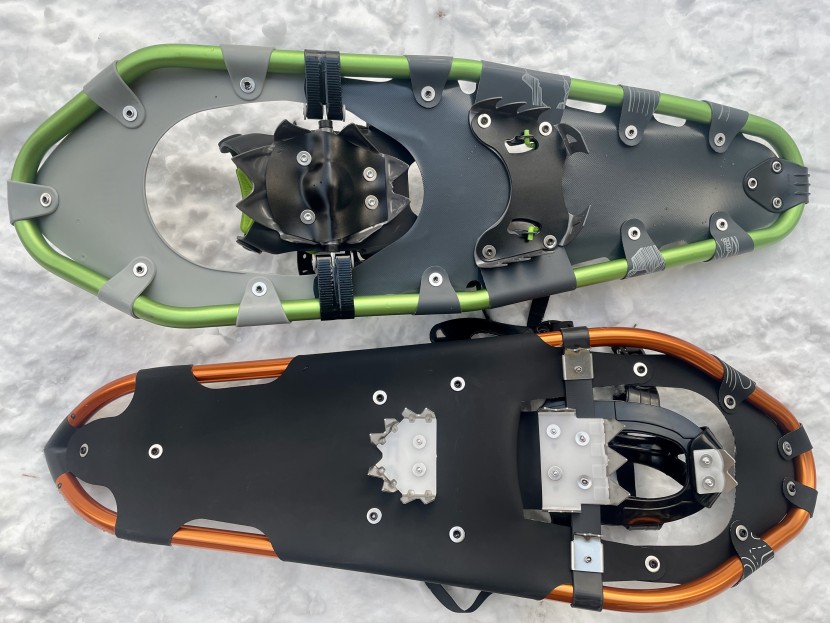
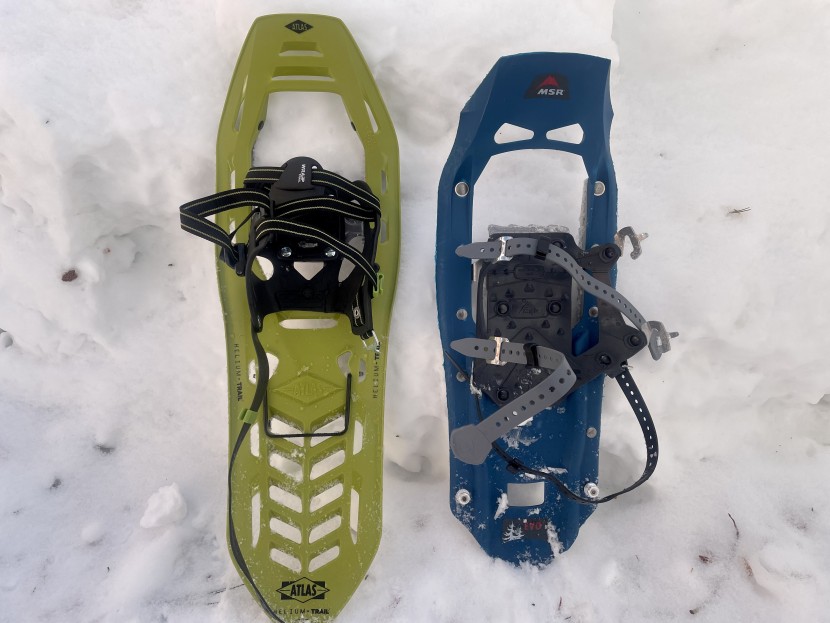
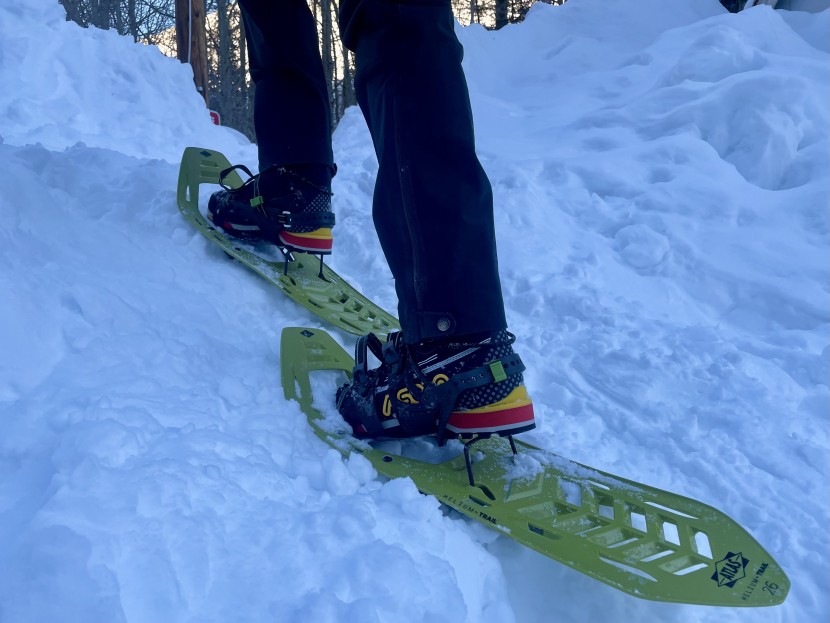
Modern designs are framed with metal or composed of hard plastic. Tubular metal frames with a fabric deck have been the norm for some time but offer little in the way of enhanced traction. One-piece plastic frames can be lighter and offer more traction. The frame determines the shape and size of the snowshoe. It will be oval-shaped for maximum flotation or tapered to accommodate a natural stride and contribute to efficient movement. The shapes and sizes will vary by manufacturer, but the two basic distinctions of symmetrical or tapered will offer insight into the best applications.
Tail
Simply put, the tail is the back part of the snowshoe. For fast movement, running, aerobic activity, or racing, seek out a tapered, pointed tail. A tapered tail also allows for more precise foot placement, which is nice on steep or technical terrain. As a beginner or for travel in deep snow, seek a wider tail or oval frame for better flotation and stability.
Deck
The deck is the material that fills in the space inside the frame. Modern decking is constructed of different types and combinations of plastics, fabrics, and rubbers. These are flexible, durable, and withstand puncture and impact. Some models are made of a large, sturdy piece of plastic where both the frame and deck are molded as a single component.
Crampons and Traction Systems
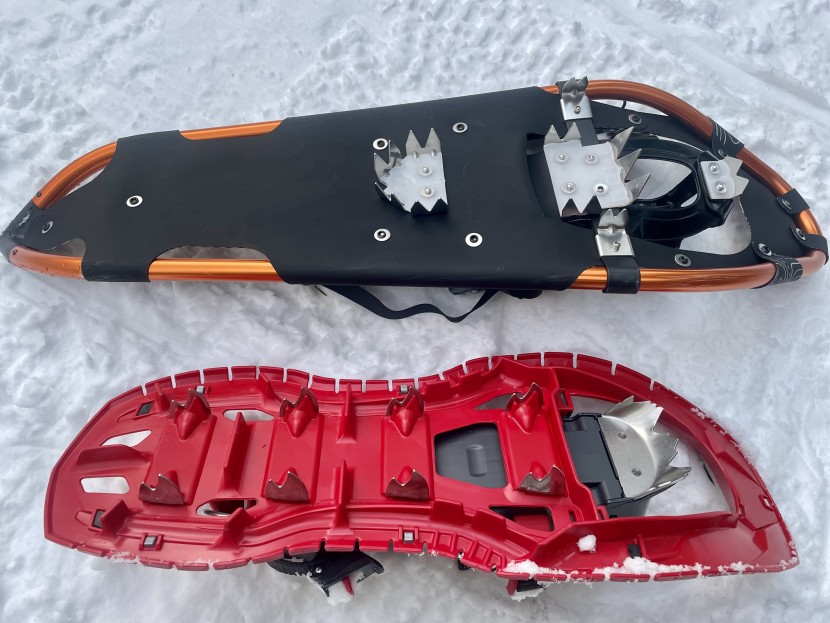
Traction systems are found on the bottom of the snowshoe. Cleats underfoot and teeth or rails along the outer frame are designed to manage the terrain beneath you while remaining stable and secure. These pieces can be made of plastic or metal. In icy conditions and steep terrain, an aggressive design is necessary. Most models have integrated cleats beneath the ball of the foot and toes, while some also have cleats beneath the heel.
The most aggressive cleats mimic ice climbing crampons with points underfoot and rigid lateral teeth. Groomed or packed snow trails will require less traction than steep inclines or icy, slick terrain. It is important to select models with appropriate traction systems for your objectives.
Bindings
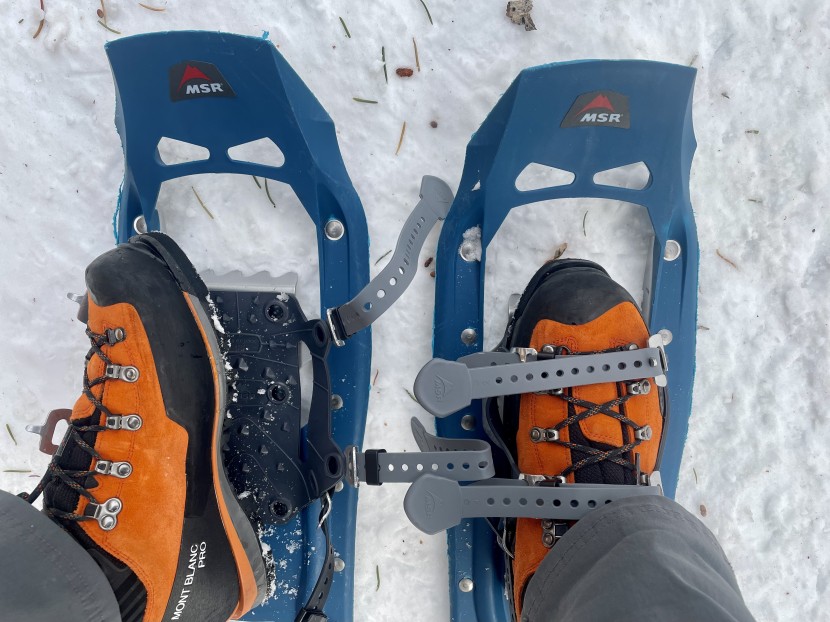
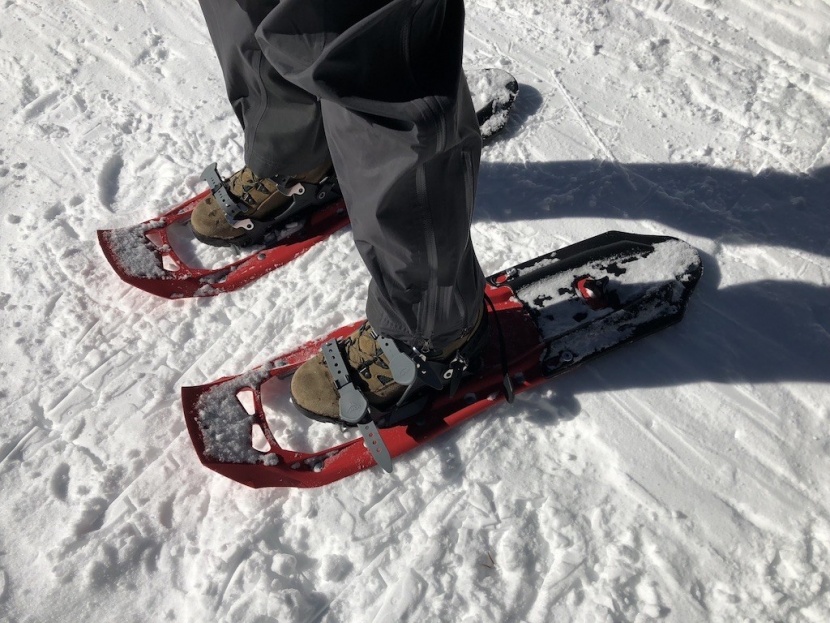
Bindings are what secure your feet to the snowshoes. Binding systems are diverse, and none of the models in our review employ quite the same method. Some have the ratcheting straps common on snowboard bindings, while others are unique and offer step-in, quick fastening designs. Several models in our review use the BOA system of steel cable laces and an adjustment knob. Most are constructed of some combination of plastic, rubber, and nylon. Your heel is free to move up and down while secured in the binding, and some cup the toe area for a secure fit on the downhill.
Not all bindings will accommodate all types of boots. Snowboard boots and larger-sized mountaineering boots may be too bulky for small binding systems, and hiking boots may not feel securely fastened in roomy bindings.
There are two ways to attach the bindings to the deck: hinges or straps. Hinged or full rotation bindings are attached to the deck on a pivot, which moves independently of the binding. They're designed to offer a wider range of motion in stride. This is ideal in mountainous applications where steep terrain requires steps to be kicked in.
Strapped or fixed rotation bindings will have a rubber or elastic strap running beneath the forefoot to secure the binding in place. They are designed to reduce drag by lifting the tail with each step. These strapped junction snowshoes allow for greater shock absorption with each step but are less precise in steeper terrain.
A few considerations when determining if a binding system is compatible with your boots and your style of travel:
- How easy is the binding system to use? Can you easily adjust the straps for personalized adjustments out on the snow? Your bindings should be easy to use, especially with gloves on and in inclement weather. They should require minimal fussing yet be easily adjustable.
- Does your foot slip around? Selecting proper footwear to use in your bindings assures that you will be securely fastened. You may need to experiment with tightening or loosening different buckles and straps on the bindings, or you may consider choosing a different type of footwear if looseness persists.
- There should be zero pressure points where the bindings contact your boots. If there are pressure points or tightness when trying them on, those will only persist and worsen on the trail. It's important to avoid both over and under-tightening the binding.
Heel Lifter
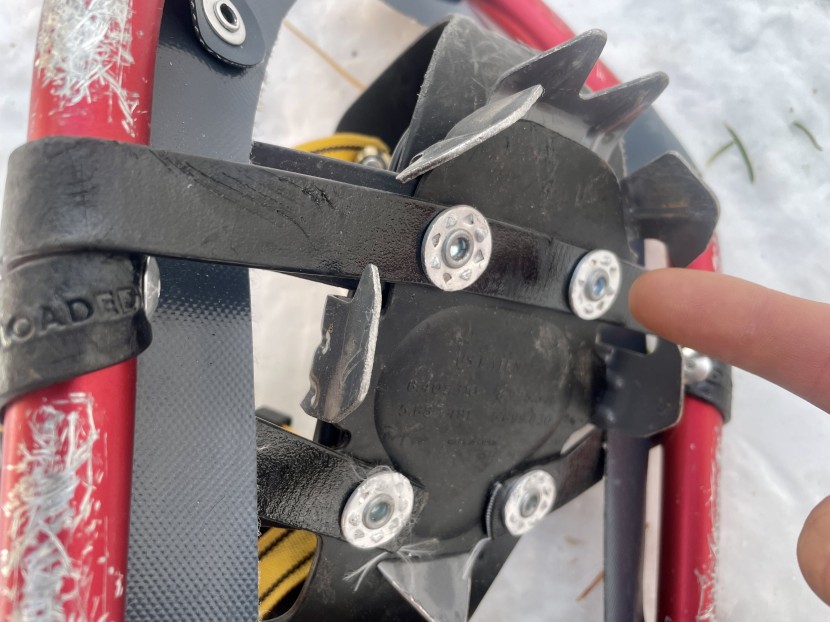
The heel lifter is a metal bar that lays flat beneath the foot against the decking when inactive and can be lifted to add support beneath the heel while heading uphill in steep terrain. This makes sustained uphills less tiring. Engaging the heel lifter requires either squatting down or bending over, which can be strenuous with a big pack, or using a trekking pole basket or handle. Not all trekking poles do this well.
Sizing and Weight Load
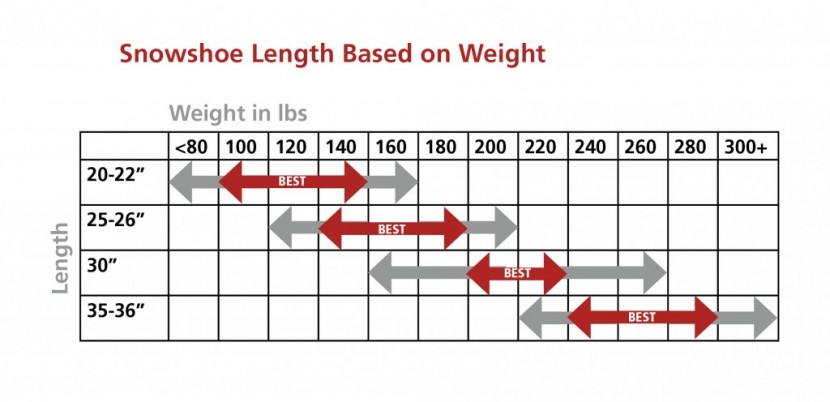
To choose the right size snowshoe, consider where you'll be going, the snow conditions you're likely to encounter, how much weight you'll be carrying, and your size.
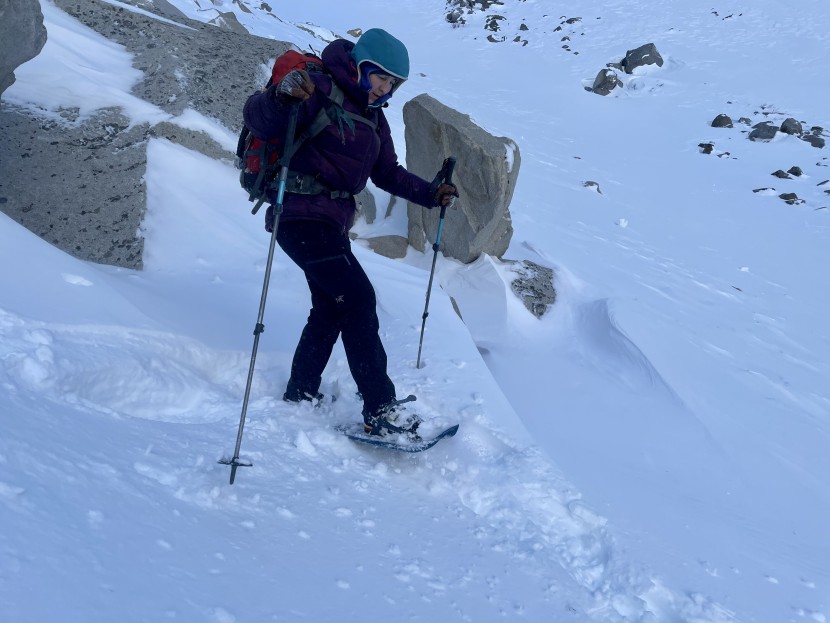
You should select snowshoes based on the terrain you anticipate spending the most time in and consider the most difficult terrain you expect to encounter. Steep terrain calls for excellent traction, hinged bindings, and compact size. If you plan on heading into steep terrain and are on the cusp of the manufacturer's recommended size range, consider sizing down. Off-trail use demands greater flotation, so if you think you'll be breaking trail on a lot of fresh powder, a larger snowshoe with a higher weight load may be the best choice. Finally, well-traveled, packed trails are best traversed with smaller, shock-absorbing shoes.
Weight load starts with your body weight and includes any gear you plan to carry, such as a backpack, water, snacks, etc. It is important to be accurate when figuring this weight, as it will affect how your snowshoes perform. Wider and longer models should be chosen for backpacking, and narrower models can be worn for leisurely day hikes. Refer to the manufacturer's recommendations for weight regarding their snowshoe models and sizes.
Fit
Putting snowshoes on your feet for the first time may feel involved. Below are step-by-step instructions on putting them on your boots for the optimal fit. Starting on snow is best because the sharp crampons will damage indoor flooring, and asphalt or dirt may damage the crampons.
- Start by opening all of the buckles and loosening all of the adjustment points on the bindings. Clear the binding footbed of any snow or debris so that your foot will rest flat on the binding without any obstruction.
- Step into the binding with the ball of your foot directly centered over the crampon hinge. Check if your foot placement is correct by pivoting your foot forward. The front of your boot should not contact the deck.
- Once your foot is in place, buckle or latch the frontmost binding strap. Then attach and tighten the heel strap. Lastly, secure and tighten the instep strap that crosses over the top of your foot, nearest your ankles. (For some bindings, this step will look different because there is no strap over the top of the foot.)
- Check the bindings by lifting your foot, taking a few steps, and hinging your feet on the pivot points. The bindings should feel snug but not too tight. Your toes shouldn't touch the deck. Small adjustments are common in the first few minutes of walking.
- Check for any gaps between the bindings and your boots. The binding should hug your boot so that there is little to no space for snow to collect. If snow gets into the spacing of your binding, it may result in cold and wet boots as well as discomfort and pressure points.
- Snowshoeing is just like walking or hiking, except that your feet will be slightly wider than normal to accommodate the frames and keep them from colliding with one another.
Men's vs. Women's Models?
Snowshoes come in men's, women's, and unisex models. The distinguishing features of women's specific models are the frame shape and binding size. They accommodate a narrower stride, sometimes with a narrower frame and often with a tapered tail. Some men find this makes for easier walking as well. The bindings of women's models are also designed for smaller feet and, therefore, smaller boots. Petite women will benefit from women's specific models, but most women will be able to comfortably wear men's or unisex models without a problem. Men's versions have wide frames, long tails, and bindings suitable for larger boots and shoes.
Depending on your personal preferences and the terrain you anticipate traversing, focus on the shape, size, and design features to find a suitable match more than the designated gender. In the course of writing this review, we found some female reviewers preferred men's specific models while some men preferred unisex or women's models. Experiment with your options without adhering too closely to gender specifics; consider the sizing features that will best suit you.
Recommended Accessories
Flotation tails are separate pieces that can be attached to the back of some models for added flotation, allowing for a wider range of use with a single pair. MSR has flotation tail options for some models. Be aware that adding the flotation tails will change the stride ergonomics of your snowshoe.
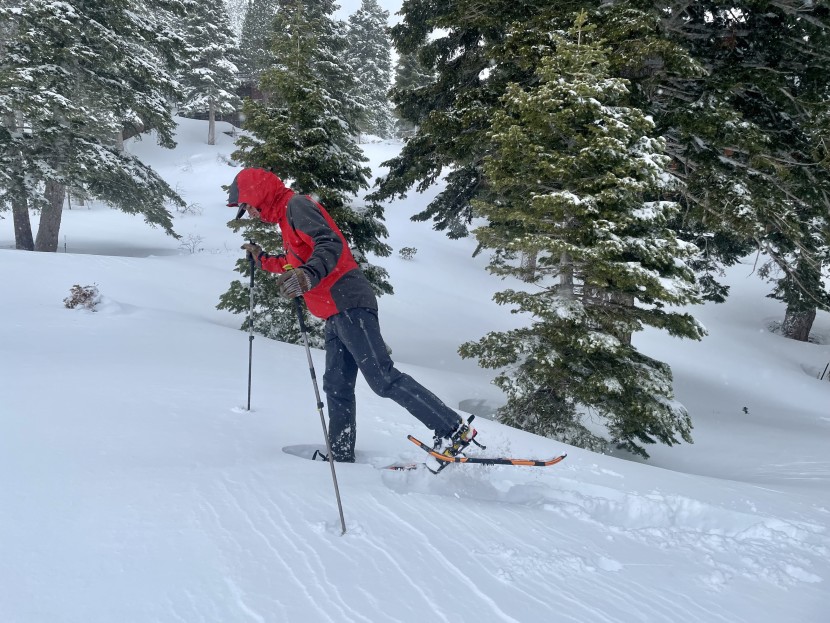
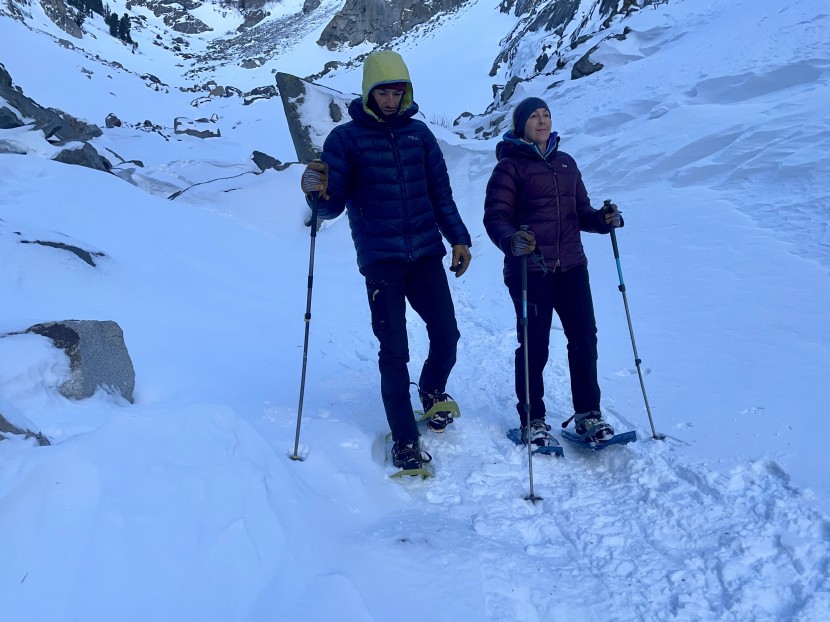
We recommend trekking poles or adjustable ski poles in addition to your snowshoe set-up. Walking in snowshoes changes our natural gait and can disrupt balance — trekking poles help maintain balance. Like when hiking, trekking poles distribute the weight load and impact throughout the body so the knees and the back aren't responsible for all of the support. Hinged bindings offer more flexibility in your range of stride, and poles stabilize you in this range.
See our writeup on the benefits of using trekking poles and our Trekking Pole Review for more info and to find the best models.

