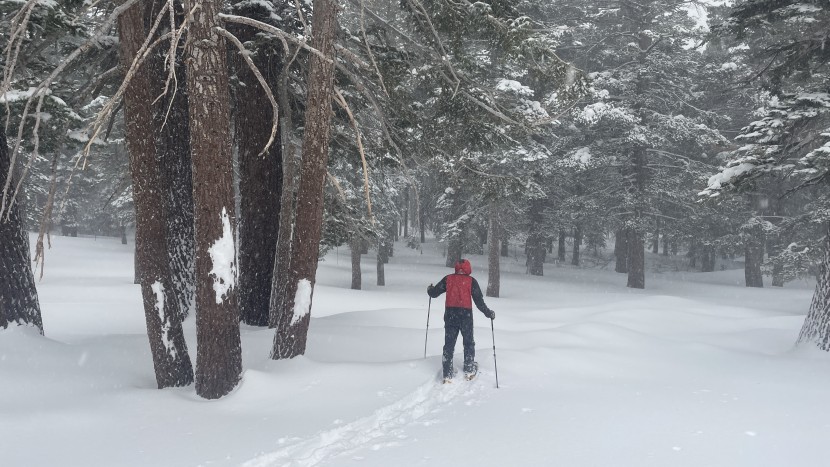
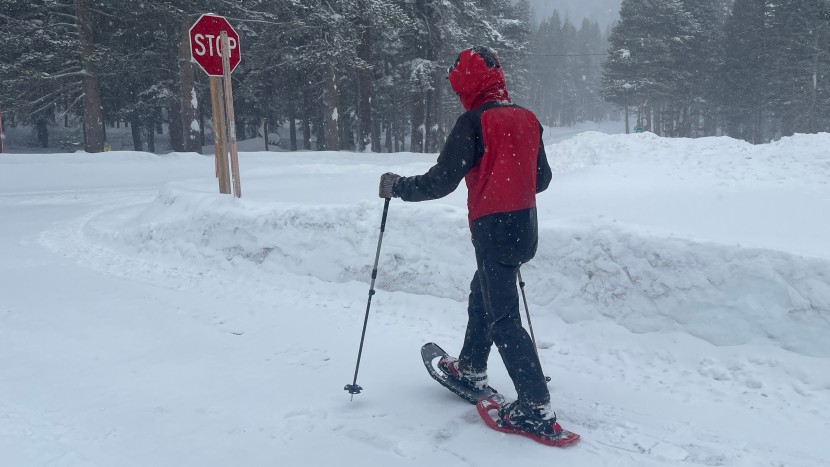
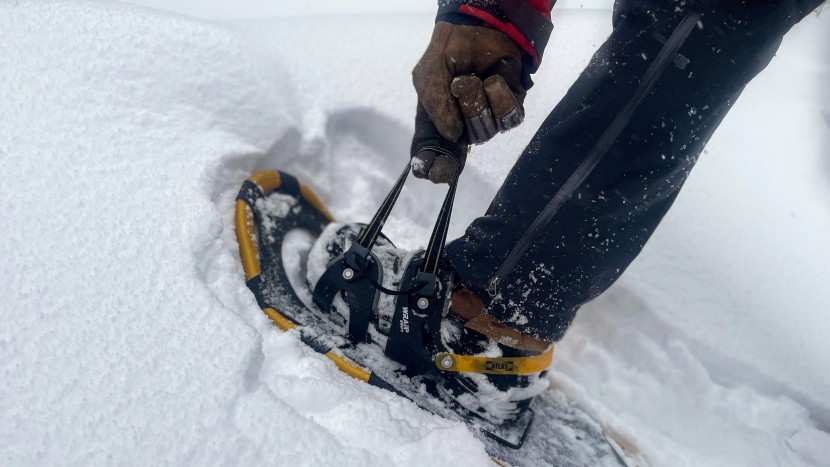
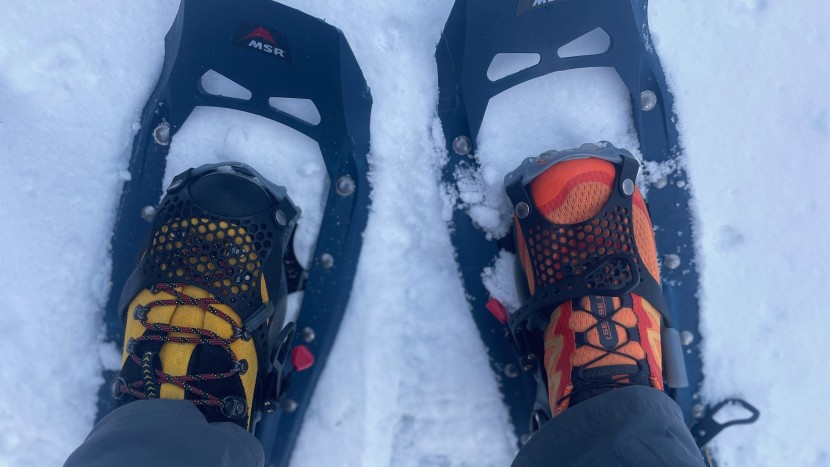
Trekking and traversing snow on the trails and off, we tested our lineup of snowshoes in the Rockies, Tetons, Sierra Nevada, and even the Alaska Range. Winter was off to a strong start in most of our testing areas. We traveled through the woods, on groomed trails, steep mountainsides, and across glaciers.
Our testers included avid hikers, skiers, mountaineers, and snowboarders. Some were trying out snowshoes for the first time, and some for their hundredth time. Our lead test editor has snowshoed thousands of miles over decades of winter travel across North America.
Flotation
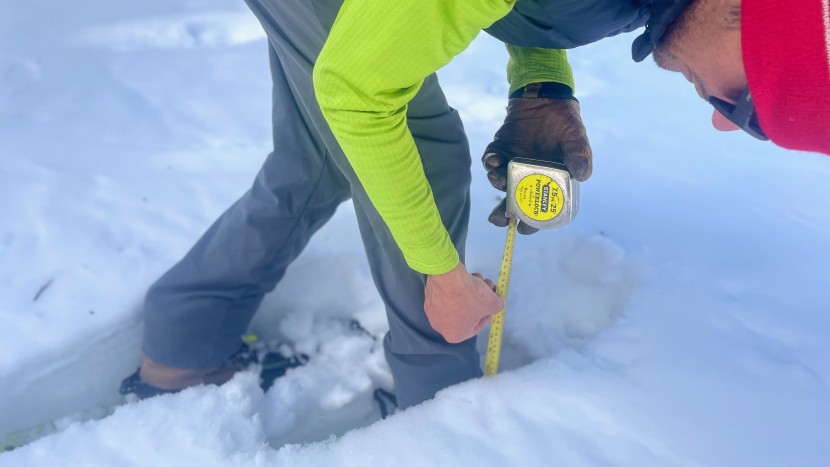
The primary factor we look at with flotation is surface area. We calculate this by multiplying the overall length by the average width. We figure out the average width by measuring the snowshoe at ¼, ½, and ¾ points along the length and then averaging those measurements. Every snowshoe gets this treatment. Our surface area calculation is the foundation for real-life testing that lets us compare more nuanced shapes or deck flexibility.
Traction
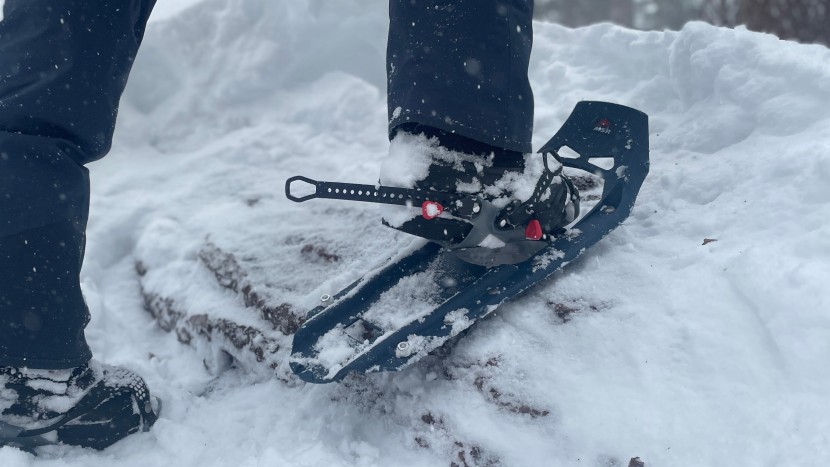
The first thing we do when evaluating traction is take a hard look at the bottom of each snowshoe. We're looking for teeth, rails (running in the direction of or perpendicular to travel), spikes, and any other ridge-type shape, whether attached to or part of the snowshoe deck. The more, the better. Then we get outside — often going places we would otherwise avoid — to figure out which models helped us stay on our feet and which left us on our backsides.
Walkability
Our starting point for walkability is how the binding is attached to the snowshoe deck. A more flexible attachment offers a natural stride for moderate hiking; when the going gets rough, a hinged attachment is more stable and precise. So, a hinged attachment makes sense in models designed for rough ground and a flexible attachment in models for more moderate hiking. We also headed outside to see if the snowshoes made winter hiking easier or forced us to learn a new way to walk, often wearing a different model on each foot to compare better.
The shape of the deck makes a difference, too. Some are more tapered than others, making them easier to hike in. The flexibility of the deck and frame materials also impacts this metric, with more flexibility providing more walking comfort and more rigidity giving more stability and precision.
Bindings
Our first test for bindings is to take the snowshoes out of the box and put them on without looking at the directions. Going for a hike with first-time snowshoers also gives us great opportunities to evaluate how intuitive a binding is. Every binding is slightly different and has different advantages; some are simple, and others take a bit of fiddling to set up. Others take some setup initially but are easy later (at least if you wear the same pair of boots).
We look at bindings both for security — snowshoes have to stay on — and comfort. Some bindings have parts that can get hung up on underbrush or the other snowshoe and cause the snowshoe to loosen; others get loose over time or on rough ground. Bindings need to work well with a range of winter footwear. Rigid winter boots can sometimes protect the foot from a binding's pinch points; we made sure to test each pair with softer shoes when evaluating comfort.

