Mammut Smart 2.0 Review
Our Verdict
Compare to Similar Products
 This Product
Mammut Smart 2.0 | |||||
|---|---|---|---|---|---|
| Awards | Best Bang for the Buck | ||||
| Price | $39.95 at REI Compare at 2 sellers | $37.88 at Amazon Compare at 3 sellers | $39.95 at REI Compare at 2 sellers | $25 List $24.95 at Amazon | $25 List $29.95 at Amazon |
Overall Score  |
|||||
| Star Rating | |||||
| Bottom Line | A great value which provides more security than a "tuber" | Simple, durable, and optimal value for multi pitch climbs | Ideal for alpine environments where the ropes are slim and the ounces count | Low price pairs well with the basic tube style design and reliability | Smooth rope handling and a simple design all packed in to a mere two ounces |
| Rating Categories | Mammut Smart 2.0 | Black Diamond ATC G... | Petzl Reverso | Black Diamond ATC XP | Petzl Verso |
| Catch and Bite (30%) | |||||
| Lowering and Rappelling (30%) | |||||
| Feeding Slack (20%) | |||||
| Weight and Bulk (10%) | |||||
| Auto Block (10%) | |||||
| Specifications | Mammut Smart 2.0 | Black Diamond ATC G... | Petzl Reverso | Black Diamond ATC XP | Petzl Verso |
| Style | Passive assisted braking | Auto-block tube | Auto-block tube | Tube style | Tube style |
| Recommended Rope Diameter (Single) | 8.7 mm - 10.5 mm | 8.9 mm - 11 mm | 8.5 mm - 10.5 mm | 9 mm - 11 mm | 8.5 mm - 11 mm |
| Recommended Rope Diameter (Half) | N/A | 8.1 mm - 11 mm | 7.1 mm - 9.2 mm | 7.7 mm - 11 mm | 7.1 mm - 9.2 mm |
| Recommended Rope Diameter (Twin) | N/A | 8.1 mm - 11 mm | 6.9 mm - 9.2 mm | 8 mm - 11 mm | 6.9 mm - 9.2 mm |
| Weight (oz) | 2.9 oz | 3.2 oz | 2.2 oz | 2.2 oz | 2 oz |
| Double Rope Rappel? | No | Yes | Yes | Yes | Yes |
| Belay Off Anchor? | No | Yes | Yes | No | No |
| Assisted Braking? | Yes, passive | No | No | No | No |
Our Analysis and Test Results
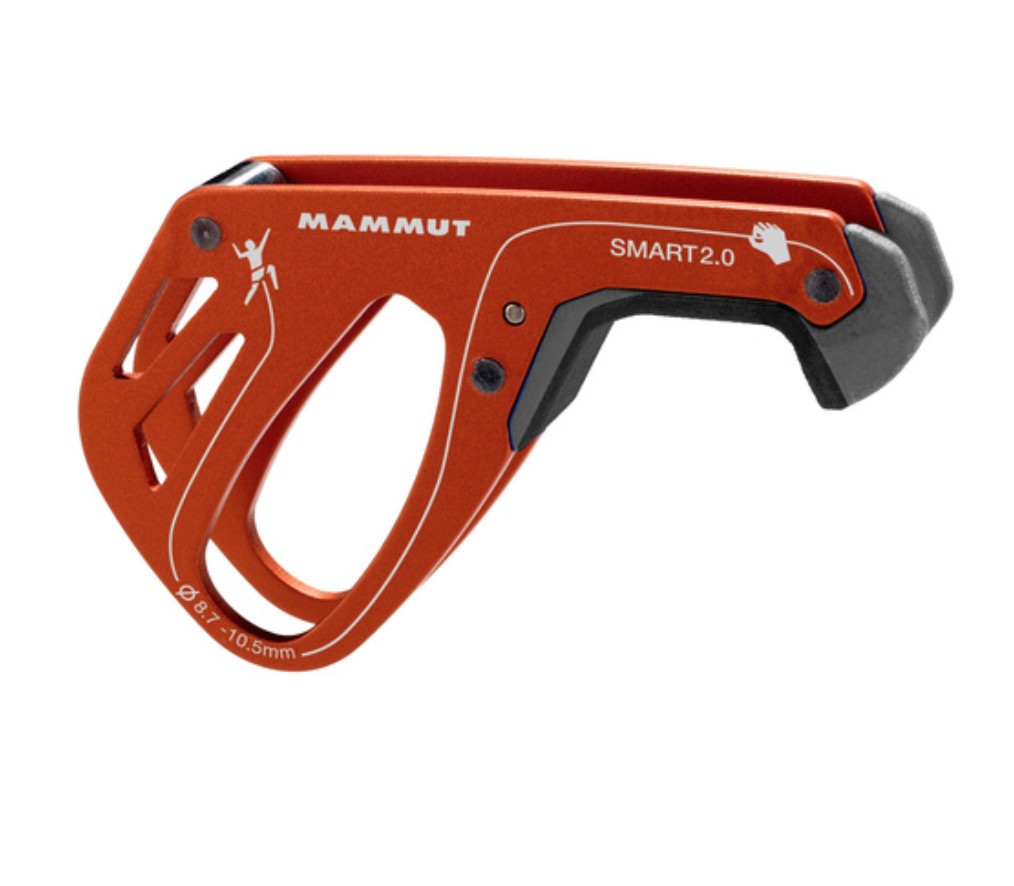
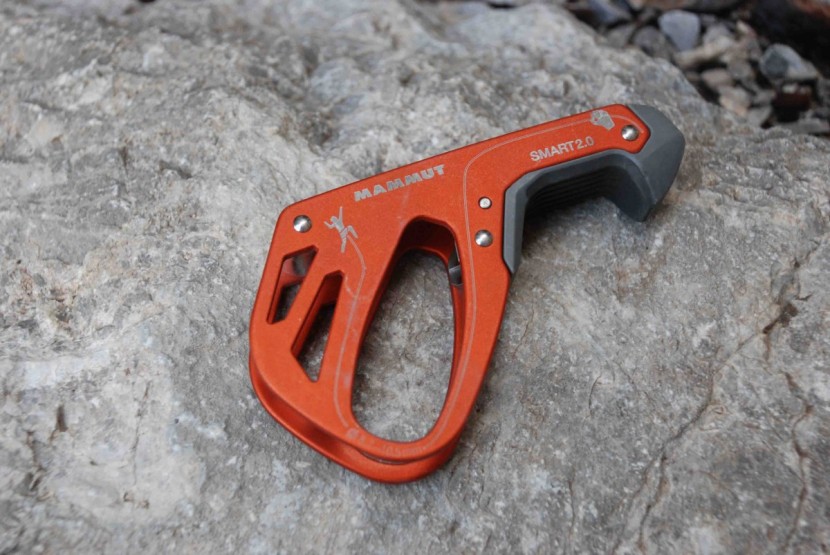
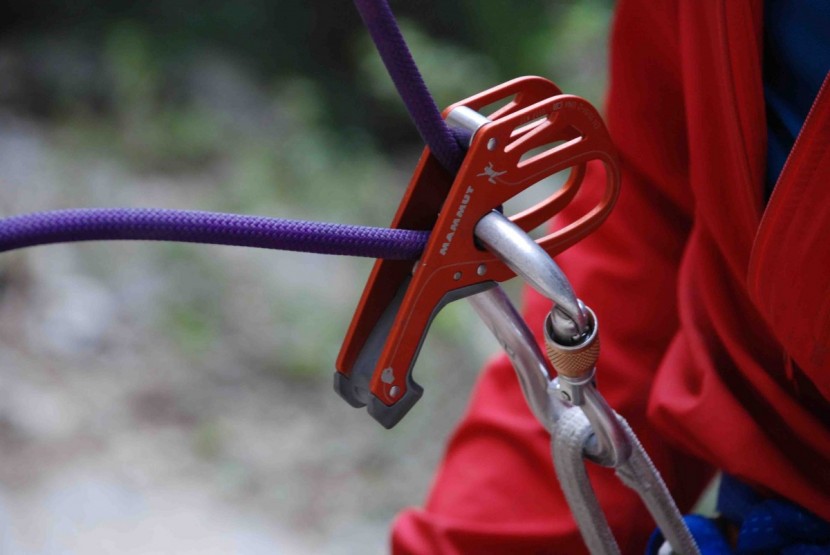
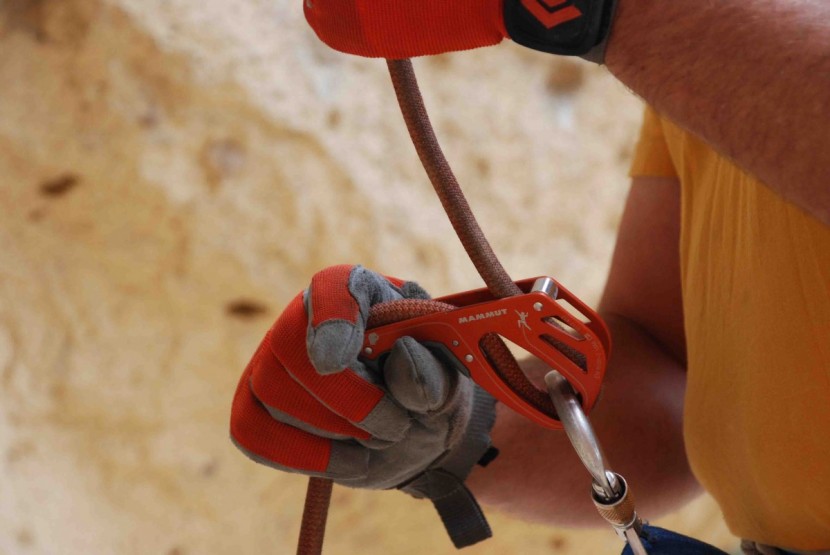
The Mammut Smart 2.0 is a “passive” assisted belay device. That means that there are no moving parts inside the Smart that cam or pinch the rope to slow it down. Instead, the rotation of the device against your carabiner is what creates the pinch. This device is rated for use with 8.7 to 10.5mm ropes, and Mammut recommends using their Smart HMS carabiner with this device (it has a safety gate to prevent cross-loading and unscrewing). We didn't have one of those on hand and tested it primarily with a Black Diamond Gridlock carabiner. Note that part of the way these passive lockers work requires a certain diameter on the carabiner that you are using, so you should ideally pair them with the recommended carabiner or with a larger H or HMS type locking carabiners from another manufacturer and not the smaller Type B or Basic locking carabiners.
The discussion below is meant to help you make a purchasing decision, and should not be used for actual instruction. Check out the instruction manual made by Mammut here for actual usage. Here is a product video from Mammut, although it provides little in the way of instruction.
Catch/Bite
We thought the catch and bite on this device was superior to that of the tube style devices.
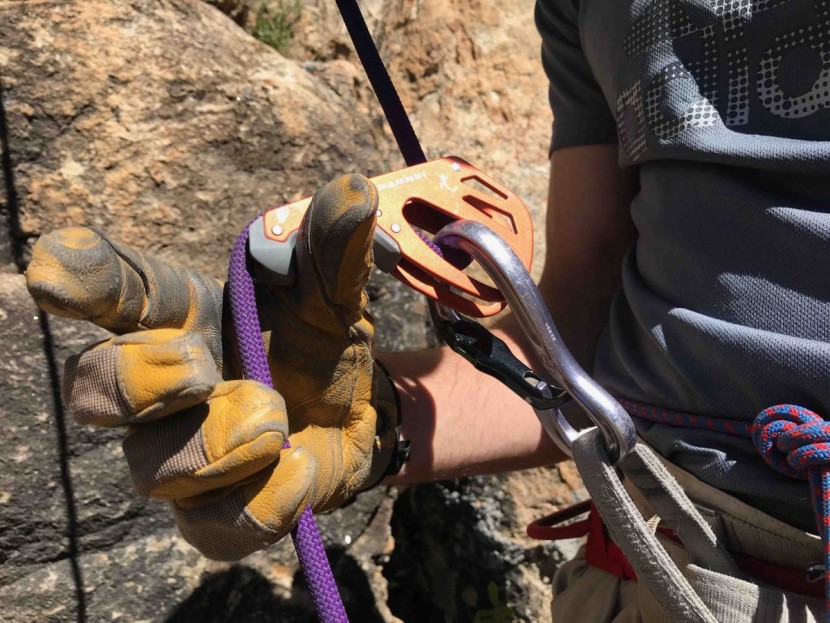
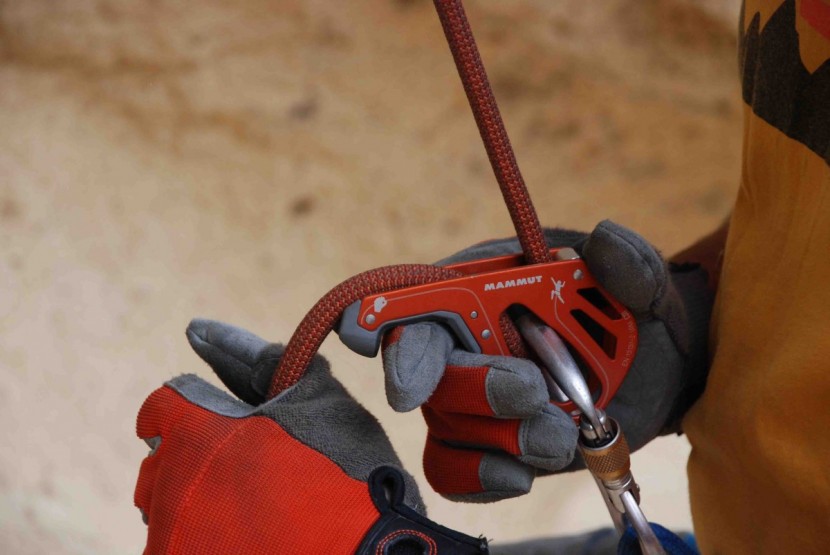
We always kept our brake hand down when belaying with the Smart, which is the recommended technique. Use of the old-school tube-style belay technique is not recommended (where you bring the brake rope above and parallel with the lead side to take in or give out slack). In fact, studies done on the older Smart show that without the hand in the proper brake position the device alone won't stop the climber (though the drop test video of the 2.0 does show it engaging without a tensioned brake hand). Mammut designed an extra little piece called the Smarter, that attaches to the top of the Smart and prevents the ropes from getting too close. They recommend this attachment for newer belayers who are still learning best practices. We didn't test the additional piece — it seems like a good idea, but it does add cost and looks like something that can easily get lost.
The main advantage to the Smart 2.0 and other passive devices over a traditional “tuber” is that you don't have to hold down so hard on your brake hand when the climber has weighted the rope. This doesn't mean that you can take it off completely, just that the device is pinching the rope enough that you can relax your grip a little. We did try opening our hands slightly in some situations to see if the rope would slide through or not, and it always held tight. That's a little more piece of mind that the device is working, but again you should always maintain control of the brake end.
Lowering/Rappelling
The Smart 2.0 requires a different method for lowering than most other devices. Since the device is “locked” when the climber weights the rope, loosening your grip should have no effect. There is no lever to pull back on, rather the device itself is the lever. While keeping your brake hand on the rope you puush up on the lever with your other thumb, which changes the orientation and reduces the pinch, and the rope starts to feed through.
We didn't like the lowering on this device as much as we did we its closest competitor, the Black Diamond ATC Pilot. The track on Smart is a little longer than on the Pilot, but the rope didn't always want to stay on it, and it was tiring to have to push up with our thumb so much. It also didn't feel as intuitive as lowering with the Pilot.
Mammut doesn't want you to lower by encircling your guide hand around the device and pushing the palm against it to break the pinch, which is how you lower with the Pilot. We did try lowering that way anyway, but the housing on the Smart has metal edges that dig into your palms a little when pushing on it. The Pilot's housing is all plastic and has a better hand feel than this one. If we were looking for a device solely for top roping, we'd go with the Pilot first over this one. However, we like the way the Smart feeds slack better (see below) which is why it edged out the Pilot in our scoring.
Feeding Slack
If you've been belaying the same way for 20 years, you may not like this device — and/or you might end up short-roping your partner a bit while you get used to it! Belaying with the Smart 2.0 might take some getting used to, as it's completely different from most tube style devices and most active assisted braking devices. While you can pay out slack slowly as with a tuber, when you want to give a lot of slack you have to disengage the device by pushing upwards on the lever with the thumb of your brake hand (with the rest of your hand still around the rope). This lets you pull up lots of slack with your other hand relatively smoothly.
While not as smooth or intuitive as a tuber at first, once you've become accustomed to the technique it works well. The lever on the Smart is more sensitive to pressure and doesn't require much force to disengage it. We tested this device with a newer 9mm and a “fuzzy” 9.7mm and found that it fed slack out much easier with a skinnier rope. This device is ambidextrous though, so lefties might appreciate its feed even more.
Weight/Bulk
This device weighs a scant 2.9 ounces, which is a significant difference from the heavier assisted braking devices.
If you are looking for something lighter to replace your GriGri with, this could be what you are looking for.
Auto Block (resistance belaying a second)
We did not test this model for its auto-block resistance as it is not designed for this purpose.
Value
The Smart 2.0 retails for the same price as comparable and similar devices. If you choose to buy the “Smarter” add-on, it will bump up the total a bit. You can purchase it with the Smart HMS carabiner in a package, which is a good value.
Conclusion
Passive assisted braking devices have elicited a lot of “whys?” from people when they spotted us testing them out at the crag. Think of them as a cross between a GriGri and an ATC. If you're partial to tube-style devices but want some extra holding power and security, then the Smart 2.0 is a great choice. If you've always used a GriGri but are open to trying something lighter and less expensive, the Smart also fills that bill.


