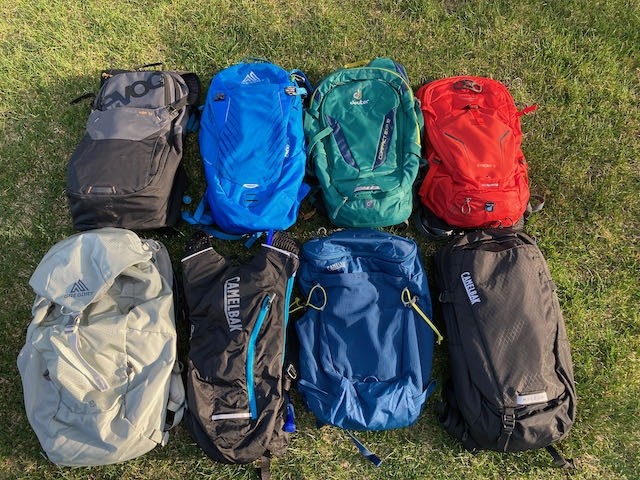
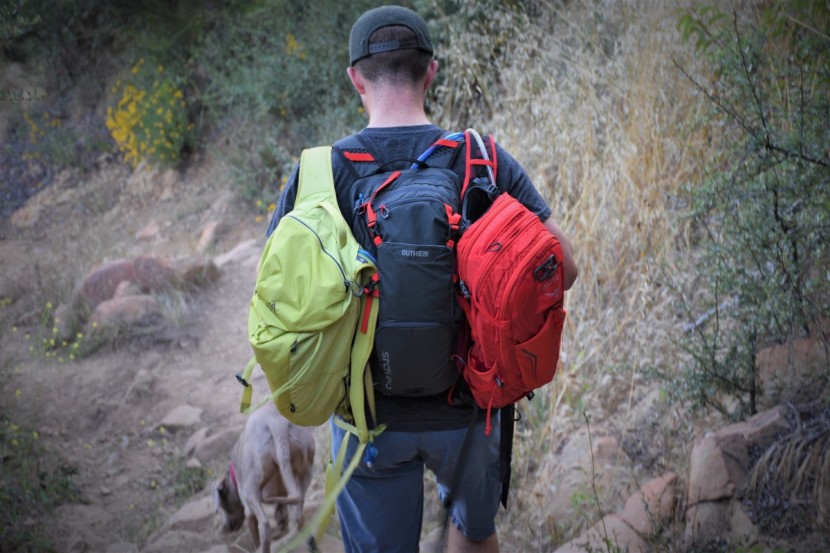
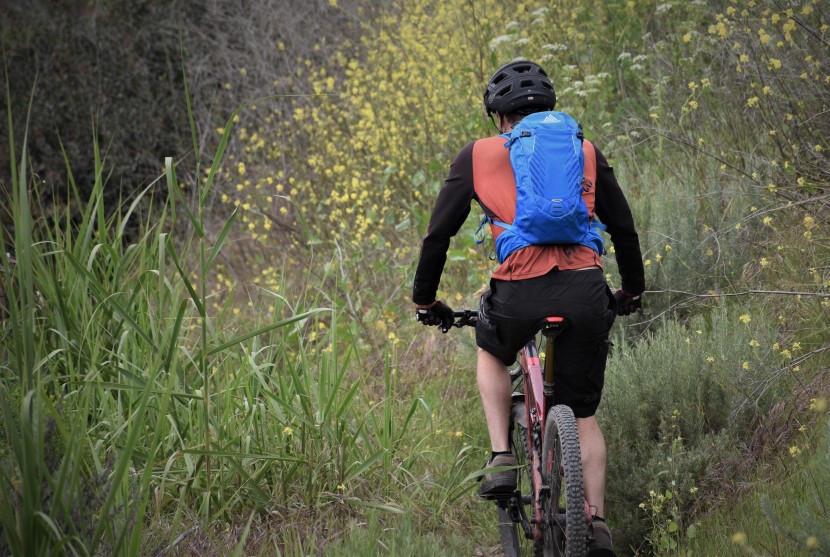
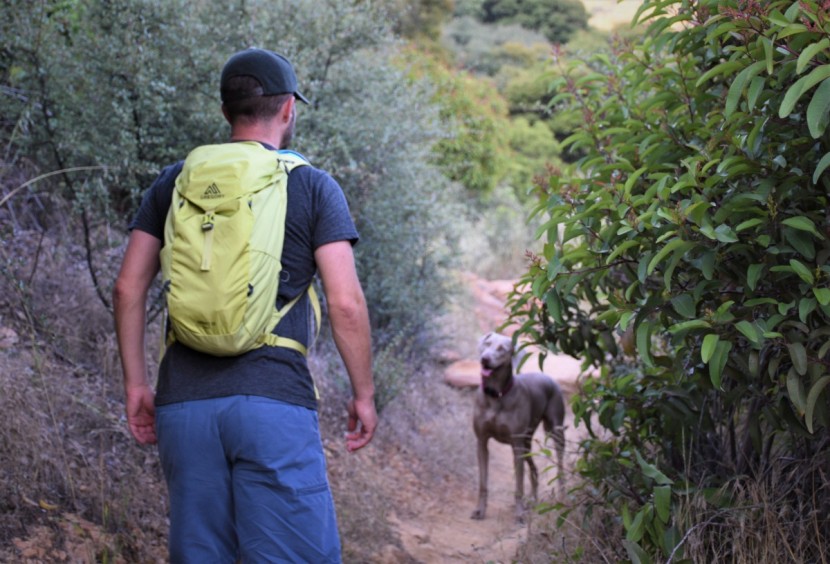
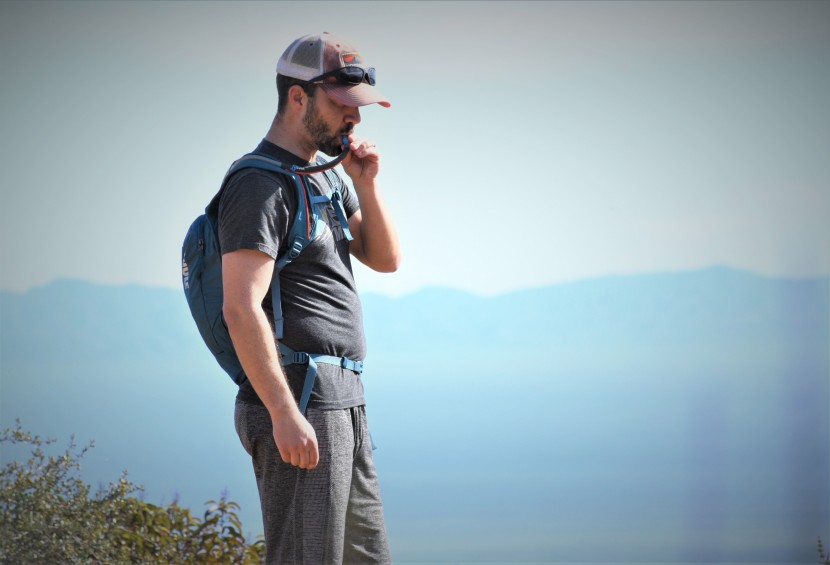
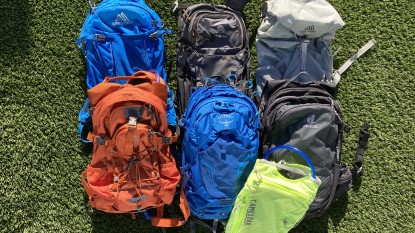
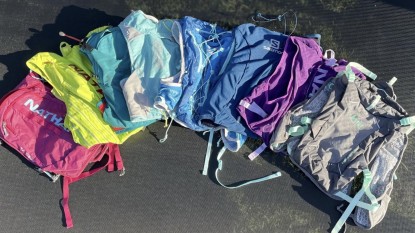
Over the last couple of decades, specialized hydration packs have become a pretty standard accessory for many hikers, mountain bikers, and trail runners, and today's packs are available in all kinds of shapes and sizes and with different sport-specific features and modern luxuries. With all of the options available, it can be confusing for a thirsty adventurer to choose just the right pack. We're here to help. Our team of experts has been following evolving market trends and has put today's top models to the test. We'll show you what to look for in order to find the best product for your specific needs, and we'll also discuss the differences between a specialized hydration pack and a traditional daypack with an added hydration system.
Intended Use
The first thing you'll need to consider is how you're most likely to use your new hydration pack. Are you just looking for a basic daypack for general use and casual hikes with family and friends? Do your outdoor athletic pursuits usually involve pedaling? Do you prefer warm-weather workouts or are you a cold-weather warrior? Today's packs typically have features geared towards one activity or another: intended for hiking and general use, road or mountain biking, running, or cold weather, and snow sports. It's important to choose a pack that includes the features that will be a good fit for your outdoor interests.
General Use
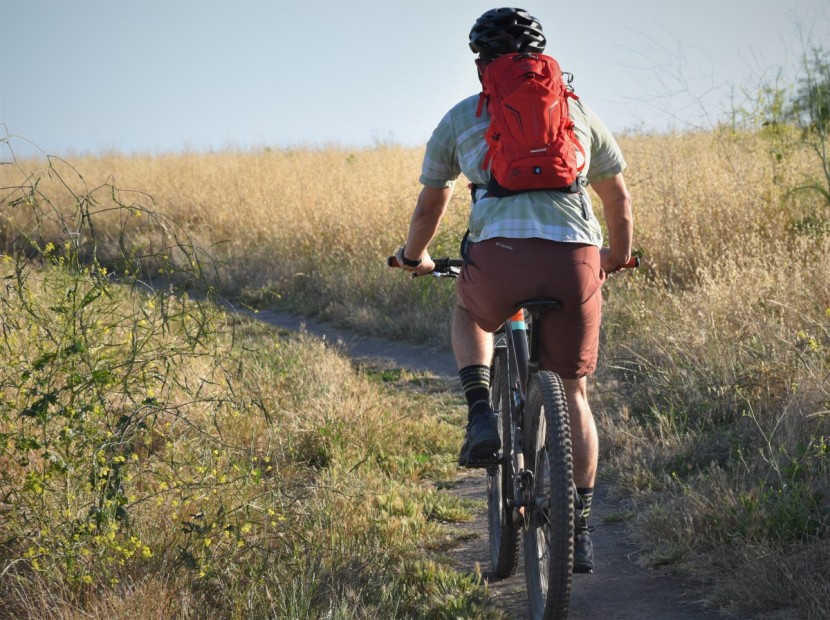
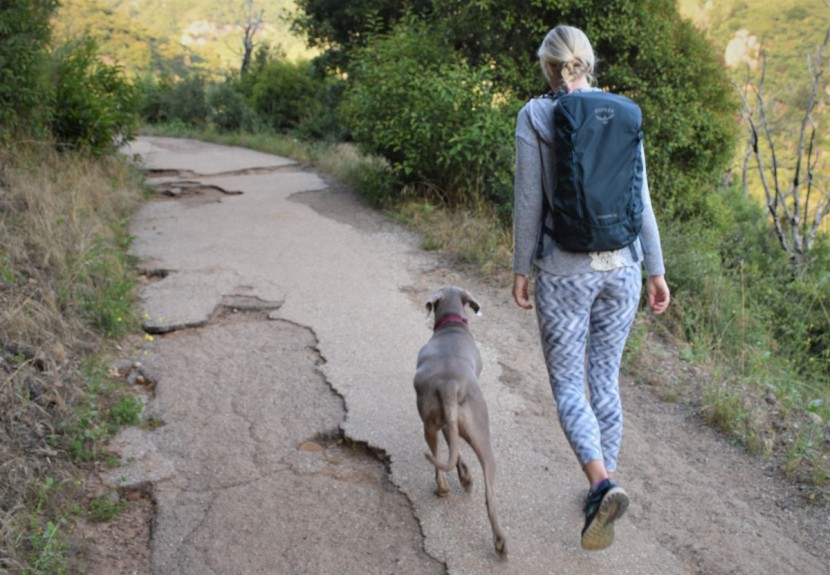
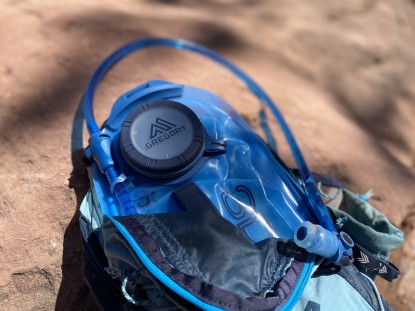
General use packs are similar to standard backpacks, but with the addition of built-in hydration features: a hydration bladder compartment with a hanging clip or hook, drinking hoses with bite valves for easy drinking, and openings, loops, or magnetic clips to route and secure drinking hoses to a convenient spot on the pack. These all-purpose packs are available in various sizes and typically have a larger, versatile storage volume for all-day endeavors.
Biking Packs
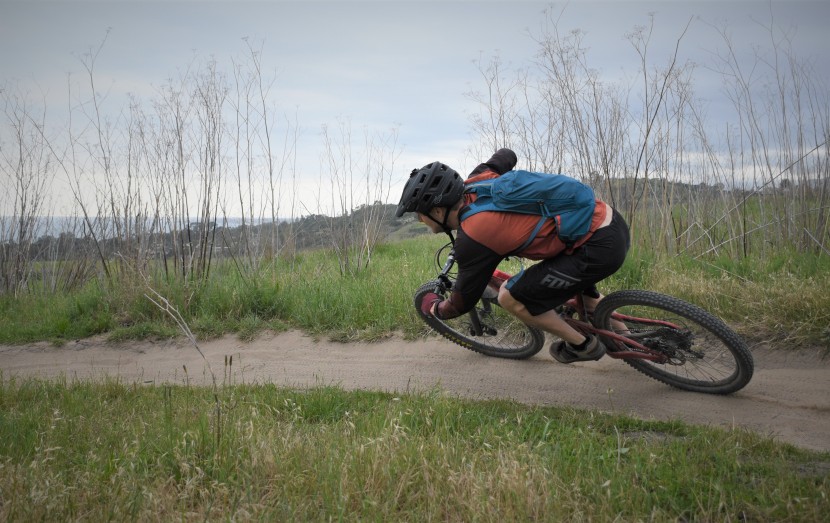
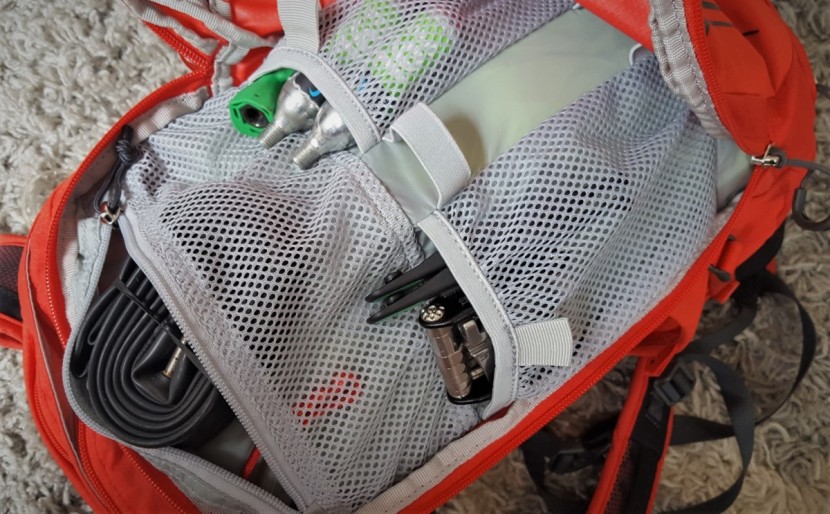
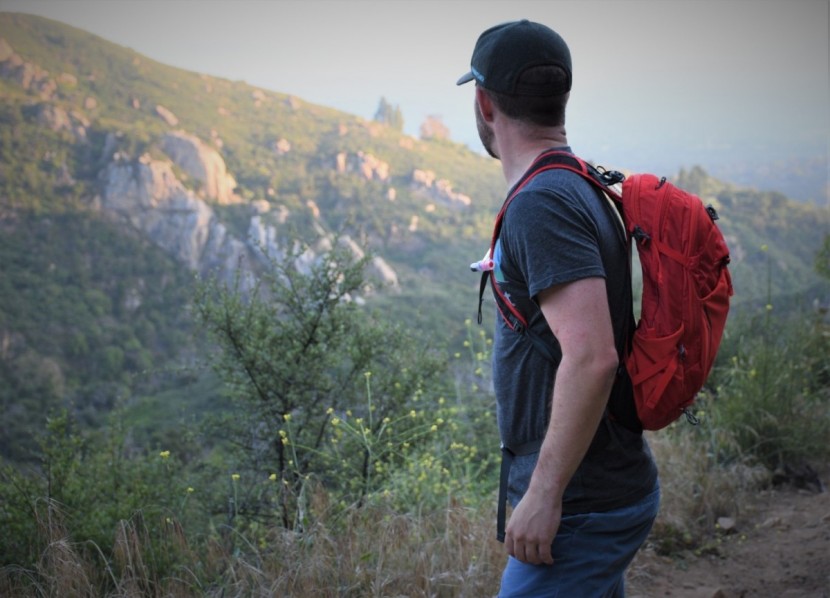
Cyclists can opt for certain models that are aimed specifically at their two-wheeled pursuits, whether your rides take you to the road or the trail. While equipped with similar features as the general use packs, like the hydration compartment, bladder, drinking hose, and bite valve, these packs also provide more bike-specific features. With biking-oriented packs, things like specialized tool rolls or compartments, additional gear straps, and helmet or bike light mounts are typically included.
Packs that are intended more for paved rides tend to have a low profile and may not include hip belts like those that are more geared for trail riders. Mountain bike packs generally provide more space for extra layers, tools, and some are equipped with armored storage and even built-in spine protectors. Many cycling packs also provide a snug fit and a lower center of gravity.
Running
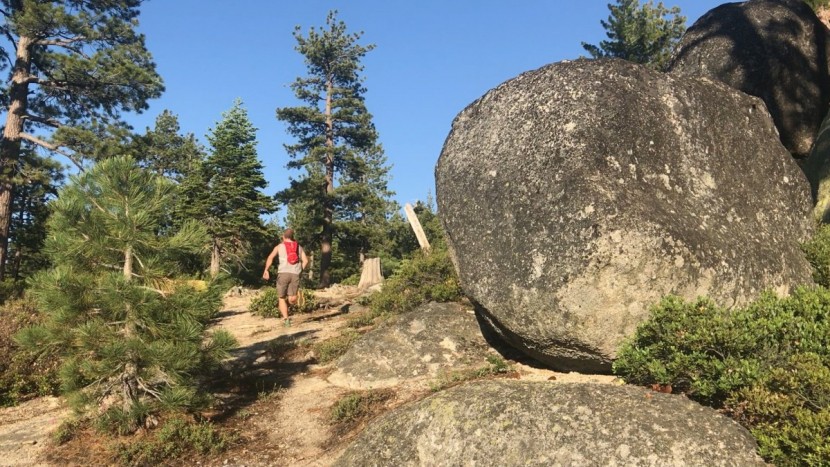
Hydration-style packs intended for running are in more of a specialized class by themselves. If you're looking for running-oriented packs, one of our favorite running hydration packs will likely be best for your needs. These models are often a hybrid between a pack and a vest and move with your body much better than any traditional backpack-style model we reviewed. They also weigh less and typically feature soft bottles instead of larger, heavier bladders.
General Tips for Selection
As you'd likely suspect, generally speaking, the larger and longer your adventures, the larger the pack you're likely to need. That goes for both gear and water carrying capacities. Keep in mind that water is indeed necessary, but adds up quickly at a weight of 2.2 pounds per liter. Top off that 3-liter hydration bladder, and you're looking at 6.6 pounds on your back. Remember, you don't necessarily have to completely fill the bladder if your outing is only a couple of hours. You can partially fill, swap out differently sized bladders, or even use a smaller-sized bladder along with a water filter for longer days when water sources are readily available for fillups.
Ease of Drinking
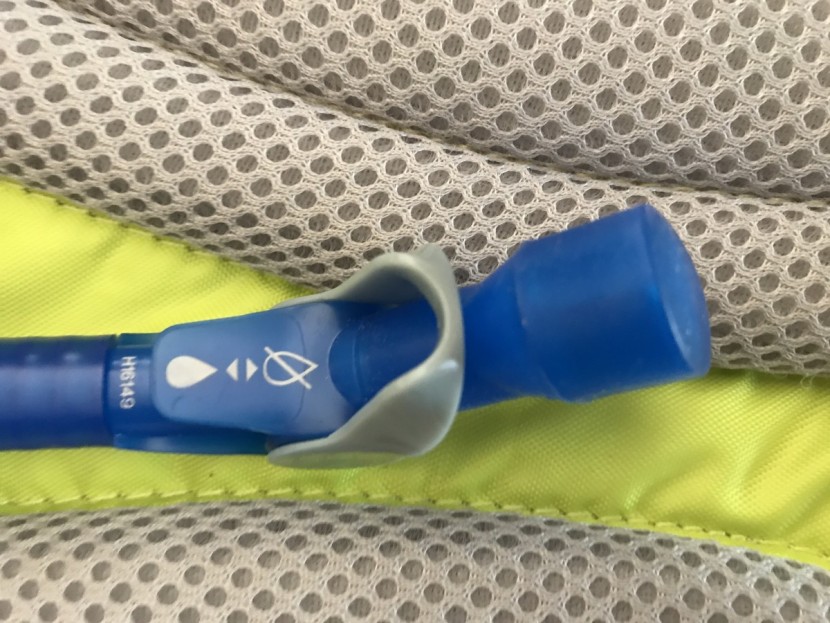
Ease of drinking is one of the most important aspects of a hydration pack. While there are perceivable differences in the performance of the actual hydration bladders, drinking hoses, and bite valves, we found that the differences won't be that significant for most users, and many packs use the same hydration system hardware. More importantly, we found that the way the hydration system interacts with the pack has a greater real-world influence on drinking performance, such as how the hose routes through the pack, the number and location of hose keeper loops or clips, and the style and location of a bite valve attachment point. If you plan on participating in fast-moving and high-intensity activities, look for a pack that keeps the drinking hose securely attached and easily accessible.
Overall, the higher quality/higher priced models perform very similarly, and differences are almost imperceptible in the field. Different users may have individual preferences for different types of hardware, so if you're discouraged with the hydration system in your pack, keep in mind that there is compatibility between many of the systems and you may be able to pair one brand's bladder with another brand's drinking hose or bite valve. If you want extra security when it comes to leakage from the bite valve, most hydration systems now include an on/off shutoff switch incorporated into the bite valve.
Ease of Filling
A hydration bladder that is easy to drink from should also be easy to fill, which brings us to our next criteria for deciding on which model is right for you: ease of filling.
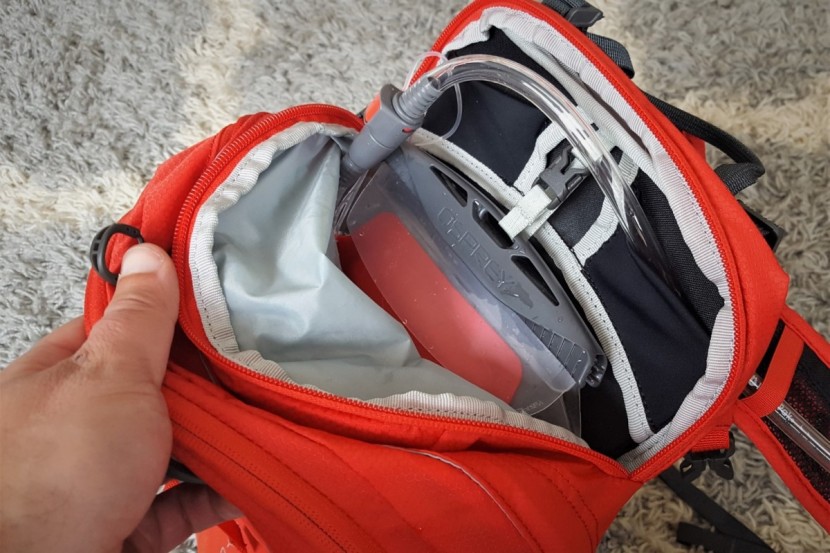
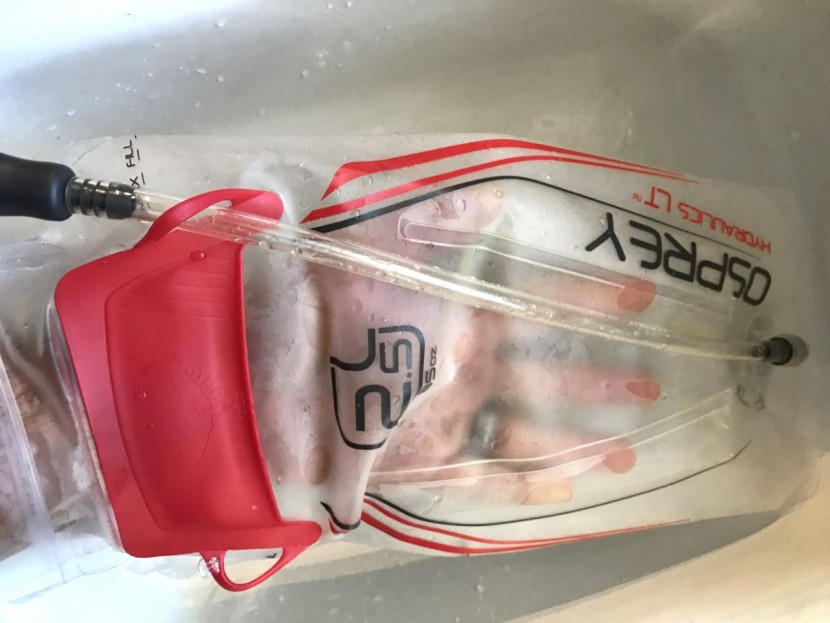
The first step in determining how easy a pack is to fill is accessing the hydration bladder. Some models place the bladder access right up front and center. Just lift the cover, and you've got full access to the vast opening. Other packs like the Osprey and Gregory offerings make things easy to access with dedicated hydration sleeves that house the bladder in a handy zippered compartment. This style gives you complete access to your hydration system without having to gut your pack completely. Some newer models feature a side-load compartment that houses the bladder and typically unzips the full length of the pack for easier access.
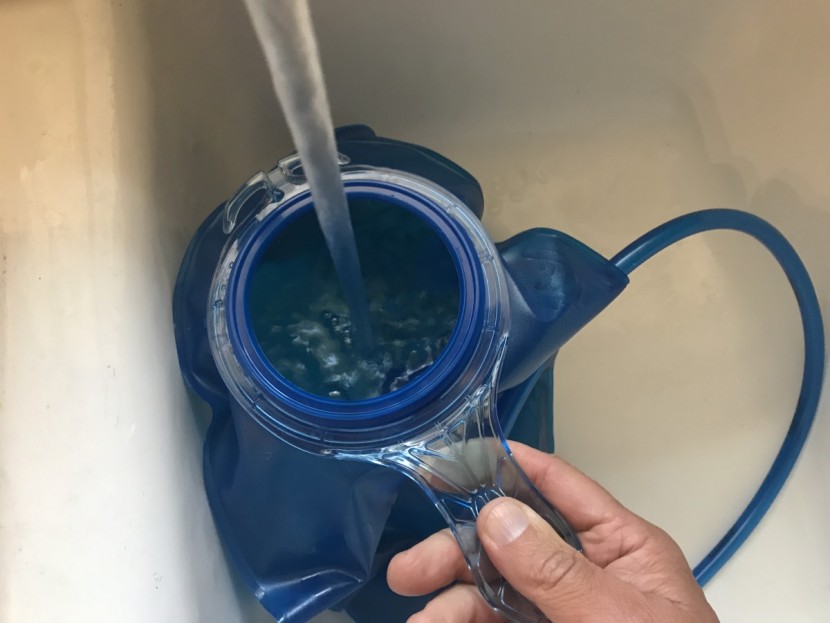
When you're considering which filling style you'd prefer, remember to anticipate the water sources you're likely to fill your pack from. Most of the competitors we tested were easy to fill from a deep kitchen sink, but if you travel and are filling up from shallow hotel room sinks or natural water sources, you may want to consider a model with a quick-release fitting. In situations like these, it's much easier to access the hydration bladder after disconnecting the drinking hose, and you'll gain better access to fill.
Comfort
Your pack also needs to be comfortable, and there are several factors to consider as you're shopping for the right model. Things like overall support, ventilation, shoulder strap, length, and hip belt construction are important to consider.
Overall SupportA general rule of thumb is that as you carry more gear, you'll want more support. Luckily, today's pack manufacturers have recognized this and design things accordingly. Minimalist models like the CamelBak Classic are intended for small amounts of weight, generally some water and a couple of small items. These packs are simple in design with materials and support that are less substantial than larger packs like the Osprey Skarab 18. There's no need for extra materials and storage when carried loads are light. A simple padded nylon bag with some cushy shoulder straps is sufficient here.
On the other hand, when your days are long, and the weather is variable, your pack weight is likely to increase, and more support will add to your comfort. Packs that are larger and intended to carry more gear have been designed with more overall support in mind. These models feature more padding in the central areas like the hip belt, shoulder straps, and back pad. Some of these higher capacity packs are even made with lightweight wireframes as we found in the Osprey Syncro 12 or metal stays like the Deuter Compact EXP 12. These extra support features make carrying heavier loads a little more manageable by giving the pack more structure.
Ventilation
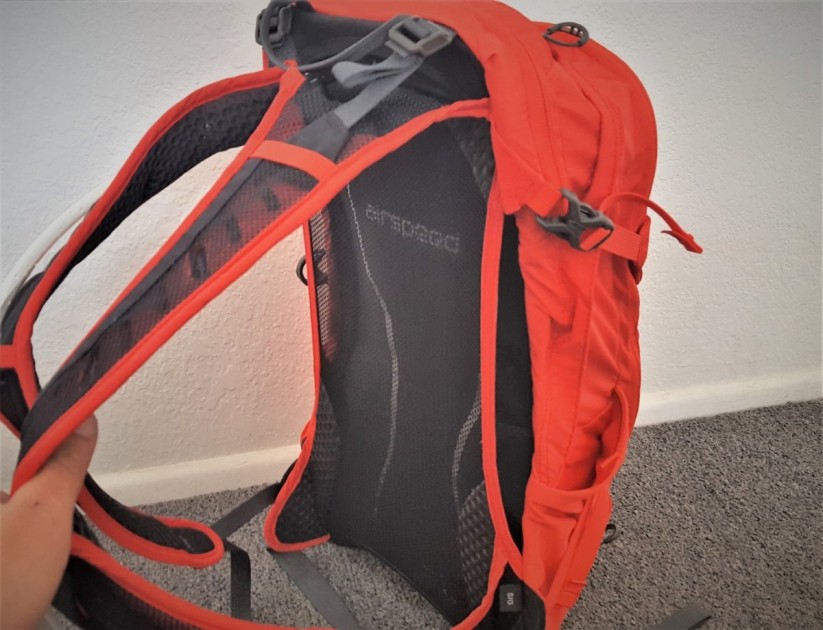
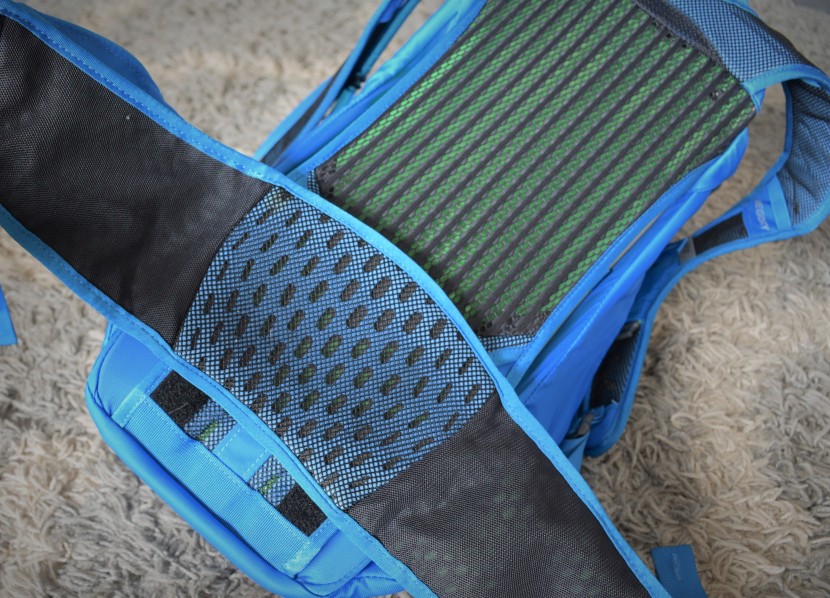
A good pack should be well ventilated where it comes in contact with your back, shoulders, and hips. Particularly on a chilly day, there's nothing more annoying than working up a sweat, taking your pack off, and realizing your back is entirely soaked (and soon, chilling). Today's manufacturers realize this, and the majority provide excellent breathability. Look for models constructed with more open mesh and fabrics since this encourages better breathability to keep you cool, mainly where the pack contacts your back. A majority of the packs we reviewed are made with mesh-covered foam back pads with integrated air channels that aid in breathability and ventilation. For even more ventilation, some models, like the Osprey Syncro 12 and Camelbak Mule Pro 14, incorporate a tensioned mesh back panel with a lightweight wire frame that keeps pack contact with your body to a minimum.
Shoulder Straps and Hip Belts
The more substantial the weight you're carrying, the more significant your shoulder straps and hip belt should be. For the shoulders, some packs accomplish this through extra padding in the upper portion of the shoulder straps, and others like the Deuter Compact EXP 12 use broader materials. This increases the surface area of the strap's contact on your shoulders, spreading the load more evenly and reducing pressure points. Hip belts use the same principle, and the models with beefier construction allow you to carry more weight on your hip bones. Just like the shoulder straps, the thicker or wider the materials used, the more significant support and comfort you'll experience. One of our Top Picks, the Gregory Endo 15, has a height-adjustable hip belt with lumbar support to dial in the perfect fit for your torso.
Water and Gear Storage
Matching pack size to your typical outdoor endeavors leads to maximum satisfaction. Below, we break down how much space the average adventurer needs in different scenarios and activities.
Water Capacity Guidelines
1 liter to 1.5 liters
For shorter duration and/or distance activities like quick day hikes or mountain bike rides lasting less than a couple of hours in generally cooler temperatures. A good volume for fast and light adventures.
1.5-2.5 litersA good all-around size for most activities lasting up to several hours. You leave the trailhead with intentions of a quick out and back, but decide to go a little longer, maybe taking that longer optional loop. This will generally get you by. Going all day in an area with refill possibilities? This range can be sufficient with a stop or two to refill.
3 litersMaximum capacity. You anticipate your path taking you several miles on a hot day and don't want to run dry; this size has got you covered. This is for the thirstiest hikers and riders in the warmest locations. If your adventures involve multi-hour long distances, this may be your go-to option for hydration capacity.
Gear Carrying Guidelines
<5 liters (<305 cu. in.)
For pursuits like road cycling, short and fast hikes, and running. These packs feature low-capacity bladders and storage for just the bare essentials like a snack, phone, car keys, maybe a light windbreaker, but not much more. This is the size for you ultralight and fast adventurers.
5-10 liters (305 cu. in. to 610 cu. in.)This is a nice size range for general use hiking and riding when you may want an extra layer, food, maps, electronics, etc. Water capacity on these packs is usually in the 2 to 2.5-liter range. Think riding or hiking a couple of hours in possibly changing weather like an early morning start when the weather is hot, and you need a place to stash that extra layer once things heat up a bit. These packs can be a good choice for athletic pursuits a little more intensive than the smallest packs but are still for fast and light activities.
10-20 liters (610 cu. in. to 1220 cu in.)This size range is for all-day efforts on the trail, far from the trailhead. These larger packs have larger capacities but can still qualify as mid-sized. If you find yourself out on long adventures, this may be your pack range of choice. You can easily fill that 3-liter bladder to capacity and still have room for repair and first aid kits, extra layers, inner tubes, food, and most other items you're likely to carry into the backcountry.
20+ liters (>2440 cu. in.)Packs in this range are the largest. When your longest days may even require a headlamp at the start or finish (or both), this is likely the ticket for you. This size crosses over into the ultralight backpacking range and may be a good choice for fast and light overnight trips.
Ease of Cleaning
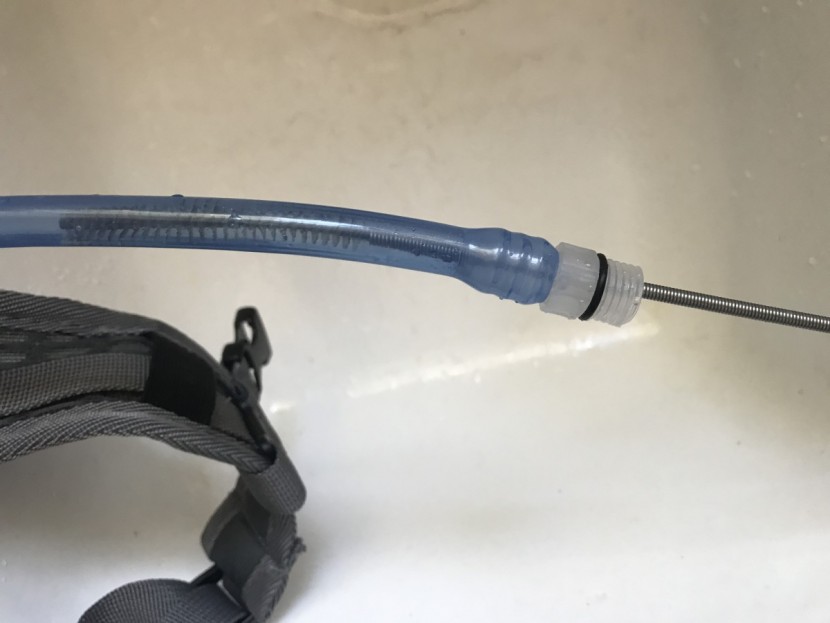
The ease of cleaning correlates somewhat directly with how easy the bladder is to fill. Hydration bladders that could be opened entirely on one end are hands-down the most effortless style to keep clean. These allow you to reach into the bag, wash, scrub, and dry to your heart's content. The narrower the bladder's opening, the more challenging it is to clean thoroughly. While we realize the cleaning of a hydration bladder's innards isn't likely to occur as often as it should, the one time we are militant about cleaning is when we fill up with liquids that contain sugar. Why is this so important? When you combine a moist and frequently warm environment with sugar, you've got a breeding ground for bacteria. Keeping your pack clean also helps avoid that nasty tasting water that so many of us have had the misfortune of ingesting.
Hydration Pack vs. Daypack
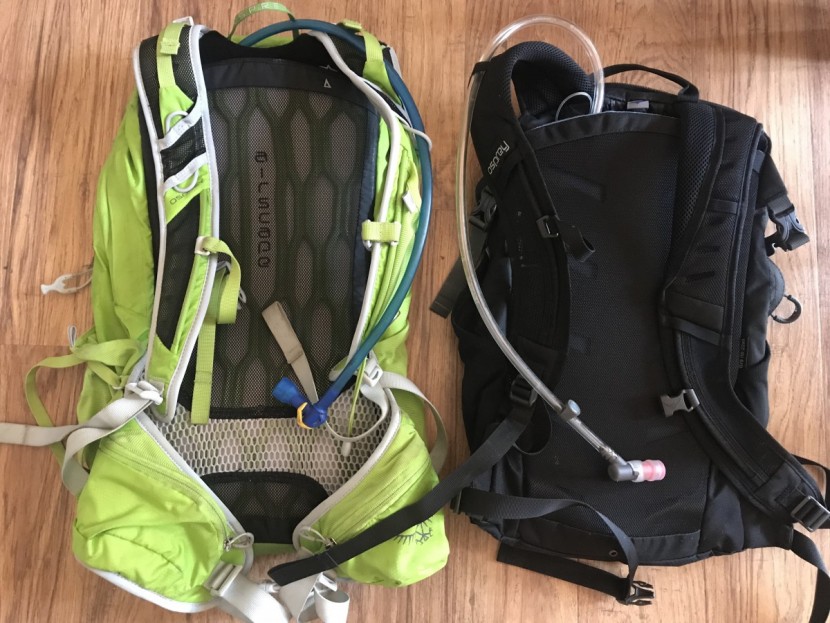
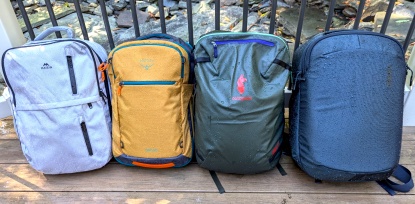
Finally, let's talk about the general differences between a typical backpack and a specialized hydration pack. You may think the differences might be obvious, but are they? When you put the two side by side, especially larger-sized packs, 10L and up, they don't look much different at first glance. So if they look so similar, what are some things to consider?
Before we address that, a couple of quick notes: When we say “daypack,” we mean a pack that does not include a hydration system and components, we're not comparing hydration packs to standard packs with water bottles. The differences are pretty simple. The biggest advantage of hydration packs is quick access to water and overall convenience. The biggest typical negatives for the bladder and drinking hose versus a bottle is difficulty in cold weather and not having a clear idea of how much water you have left, as the bladder is hidden inside the hydration sleeve.
Now back to our original question…Do I need a specialized hydration pack or can I just add on a hydration system to a regular daypack? We'll steal our own thunder upfront and say, well, we can't answer that for you. It's not that straightforward.
The question used to be pretty obvious for the main reason that “regular” backpacks simply weren't set up for water storage. They didn't have dedicated hydration sleeves and compartments, openings for drinking hoses, or hose routing capabilities like their specialized pack relatives. The only option was to put together your own piecemeal setup that likely involved duct tape and zip-ties.
Over the past several years, the lines between non-hydration and hydration packs have increasingly blurred, especially in the larger sizes. In the past, these packs were only available in smaller sizes like the CamelBak Classic and were typically used most often by cyclists and runners. More recently, they've become available in larger volumes; some are now available even over 20 liters. So now that their range has expanded into even bigger sizes, the two general styles of packs are overlapping more and more.
Some factors to look at when deciding between the two types of packs are cost, support, and overall pack construction, hydration specific features.
Support and ConstructionBoth types of packs run the gamut of overall support and construction, but as a very general rule, a typical hiking daypack is likely to have heavier duty support and construction. They likely have sturdier framesheets, support stays, and more padding in shoulder straps, as well as more width and padding in the hip belt. Keep in mind, these are not definites but are characteristics we've noticed through testing dozens of different packs. A more supportive daypack, as a result of the robust construction, generally weighs more than a hydration pack of equal size.
Cost
As a general rule of thumb, buying a hydration backpack can be more budget-friendly since the hydration system is included with the pack, and this keeps the cost down. A quick example is in two similar packs, the Osprey Skarab 18 hydration pack and the Osprey Talon 22 from our daypack review. The Skarab, with hydration system included, retails for $85 while the Talon retails at $120. Now add on $35 to add in the hydration bladder, hose, and bite valve and now your total is $155. That's a $70 difference. With that being said, the Talon is a more substantial pack with more features, but if you're someone who doesn't need those extras and are primarily looking at overall capacity and price, the cheaper option may be better for you. There are almost infinite comparisons between similarly sized packs, so in a nutshell, if cost is a factor for you, look for similar sizes and features, do your own analysis and decide which is the better route for you.
Hydration Specific FeaturesWe mention this last because almost universally, most backpacks of all shapes and sizes are now set up with hydration sleeves and hose keeper loops, straps, etc. In the past, packs didn't necessarily have these extras, but now, a pack without hydration features is a rarity. If you're looking at a regular backpack and are planning to add a separate hydration system, make sure that the hydration system has the features you're looking for and that the pack can accommodate its size and shape.
Conclusion
Armed with a little extra knowledge and some general guidelines, we hope that you'll be able to make a better decision when you're researching, purchasing, and using your new hydration or daypack with a hydration system. Use these tips to make the best choice for wherever your adventures take you.

