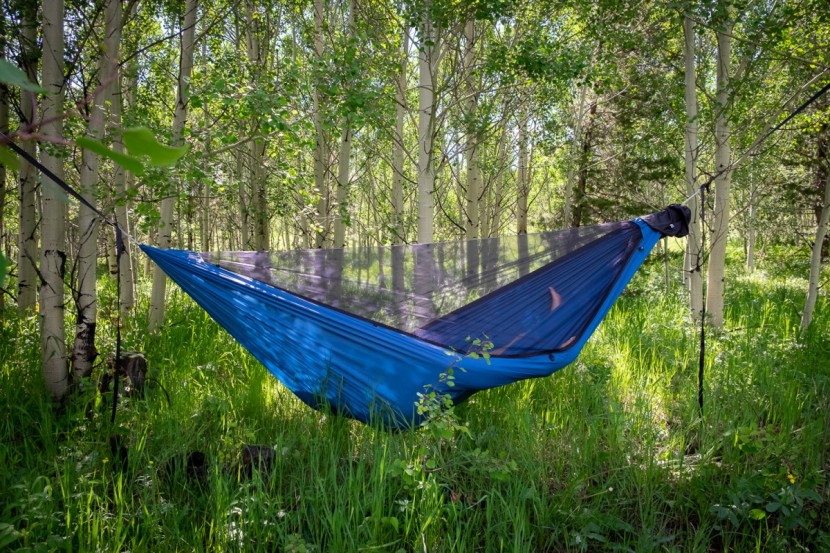
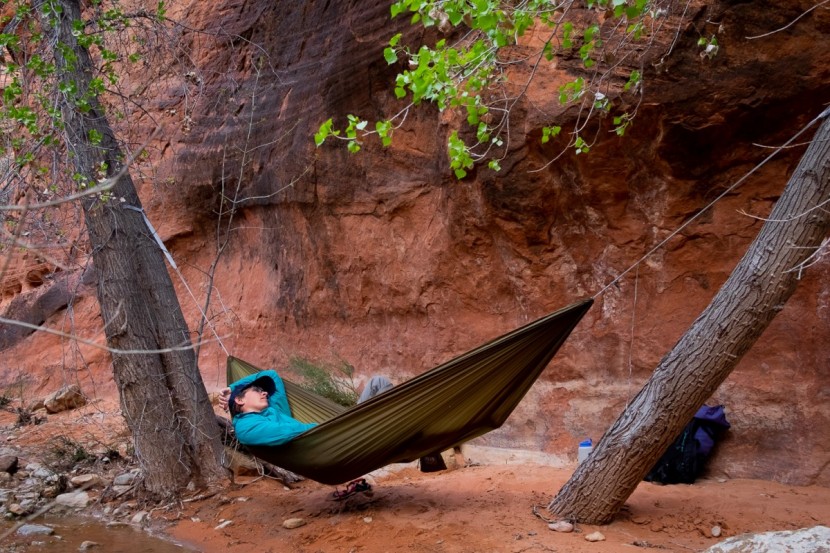
Has the hard, rocky, uneven ground been killing your back and making you less excited to spend a night in the woods? Or maybe you are looking for a cool spot by a stream to read on a hot day? It's hammock time.
We've put together not only a thorough review and ranking of the top hammocks on the market, but we're also here to help you ask the right questions to find your perfect hang.
Hammock vs. Tent?
While most people will be content using a hammock to relax during the day, those willing to trade in their tent in the backcountry will be rewarded with a comfortable and sometimes less expensive alternative. You will also enjoy an open view of the world and the ability to camp on sloped terrain in comfort. However, you'll need to consider whether the places you plan to camp can offer the right trees to hang from. On the lush East Coast, one never has to wonder if they'll be able to find two large, well-spaced trees, but in the West, some places are too dry or too high to offer many hanging options.
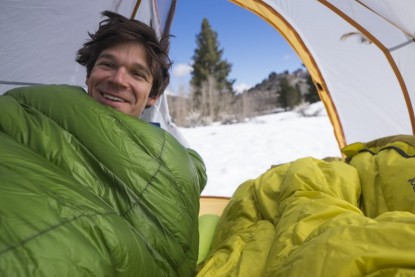
A suspended shelter won't be as hardy as a full-blown tent (don't expect to see any perched on Everest anytime soon), nor can you store as much gear inside as you can in a typical tent. For camping in mild weather, they are more than sufficient to keep the cold and bugs at bay. For those looking to head out on longer trips where the weather can't be as easily predicted or elevation changes make for colder nights, fully-rigged backcountry versions can help reduce pack weight and add comfort and versatility to your camp setup. Using a sleeping pad or underquilt for insulation against drafts, adding a bug net if needed, and a rain tarp if the weather calls for it, your suspended bed can become a viable and versatile alternative to a 3-season tent.
The biggest benefits to suspended camping are the added comfort of not sleeping on hard ground and (in forested areas) the ease of campsite selection. When you no longer need flat, open terrain to sleep, you can perch your home in more solitary locations. As long as you can find two trees, your spot isn't restricted to locations between widely spaced topo lines on your map.
What is Your End Use?
Your intended end use will help determine what style hammock and included features will be important for you. The decision to leave the tent at home and hike into the hills with a fabric sling is bold, but more and more people are discovering the benefits. However, a camper heading into a winter storm has a very different set of problems than a desert hiker posted up at a bug-infested watering hole or someone just looking for a comfortable spot to relax on campus between classes. The important thing to keep in mind is that a heavy model likely has more features for weather and bugs, while lighter ones without those features can weigh less in your pack. So how then do you choose? Keep reading.
Backyard or Backcountry
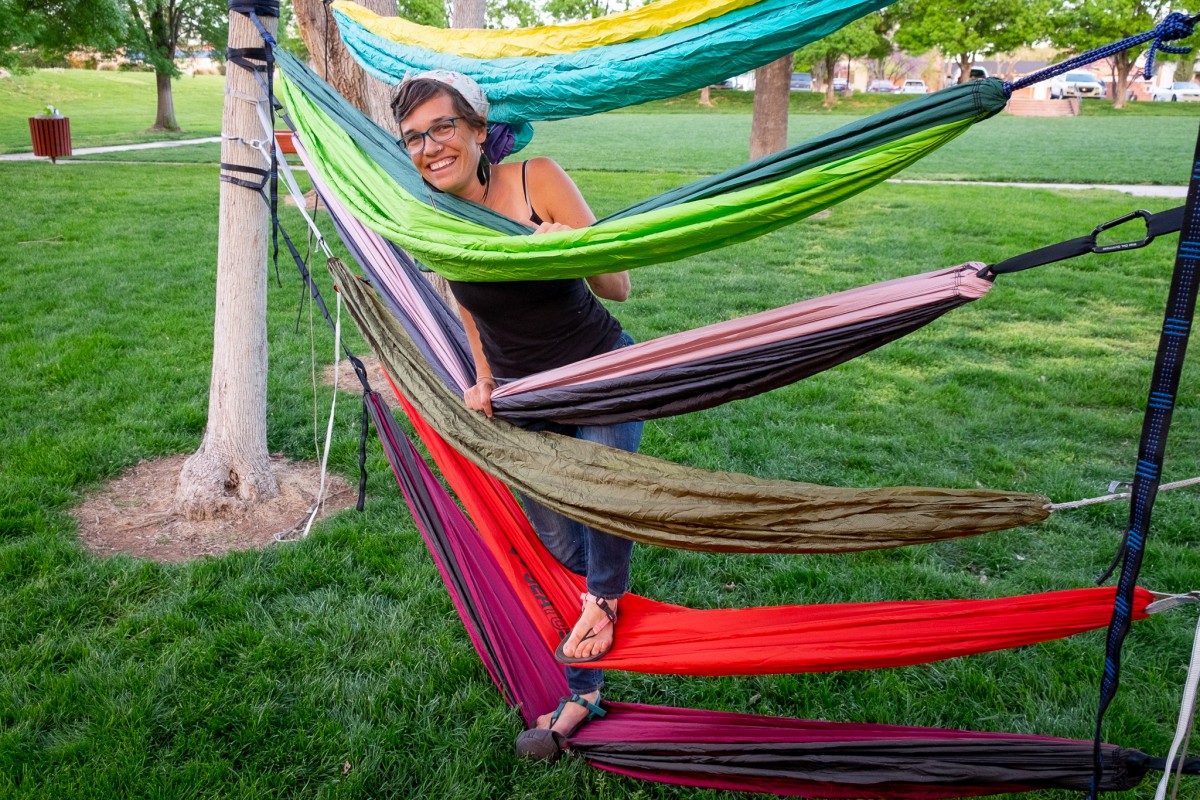
Begin by considering what you want it to offer you. Will it be your shelter on multi-night trips into the backcountry, or do you see yourself setting it up at a park to relax and spend time with friends? Some mocks are ideal shelters, while others offer a low price and simplicity for an easy-to-sling-up hour of hang time. A few especially versatile models can be perfect for both. Generally, we divide the models into two subcategories: Day Use and Shelter.
Day Use
Why do you see one brand that costs $20, one that costs $35, and another that is a whopping $70, and they all look identical? We wondered that ourselves. There has to be some difference. Right? So we “gathered” up various end-gathered models ranging in price to answer this question once and for all. We dug into the nitty-gritty and got picky about materials and measurements. Spreadsheets were our friends that helped us rank these admittedly very similar options, and in the end, we figured out exactly what you should look for when comparing these models.
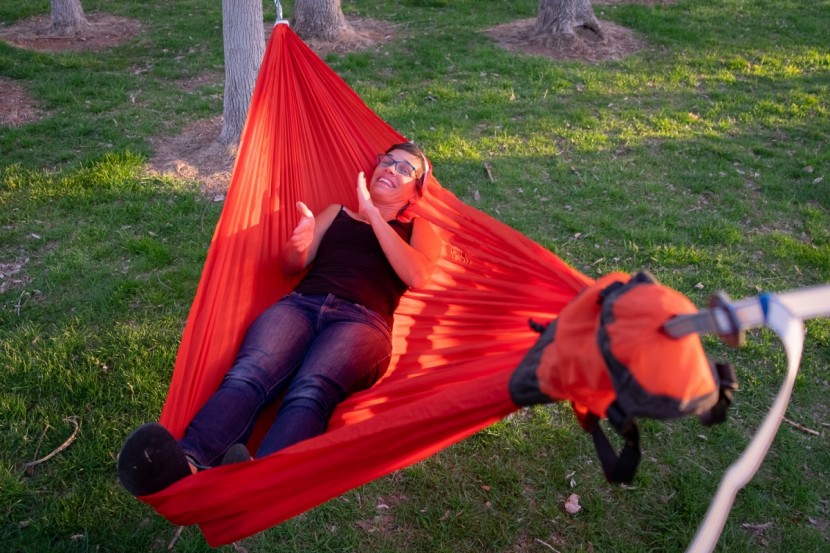
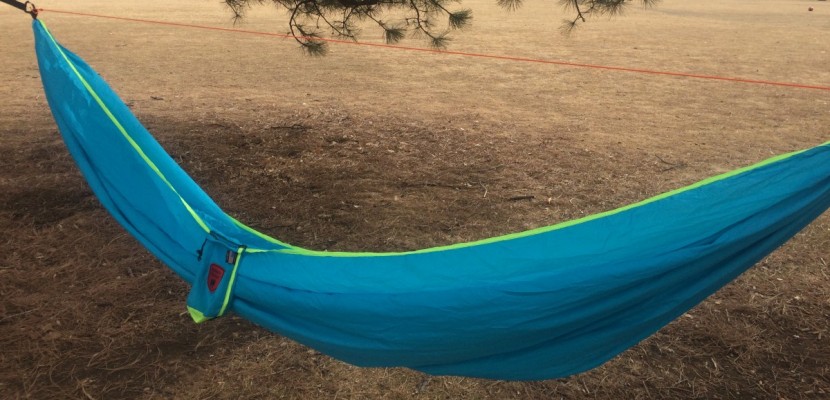
The comfort of end-gather models is determined by the length, width, and softness of the material. Anything over 9 feet long and 5 feet wide will be spacious enough for almost anyone just using it for daytime relaxing. The ease of setup varies based on whether straps are included and whether knot tying is required. Look for models that come with 1-inch wide webbing straps at least 8 feet long each, with at least ten sets of loops spread over 5 feet or more. This length impacts the size of trees you can hang from, how far apart they can be, and how much adjustment you can make once you have them set up.
Of all the metrics we consider, weight seems to matter least in the day-use category. However, we did include weight in the ranking because many people want an option comfortable enough to lounge around in all day but light enough to take it on occasional backpacking trips. Even with the range in price, we found the differences in some of these models to be almost indistinguishable.
The end-gathered construction is simple and comfortable, but we also tested a unique setup that offered a completely different style, offering a flatter laying surface than can be found on any basic end-gathered design.
Shelter
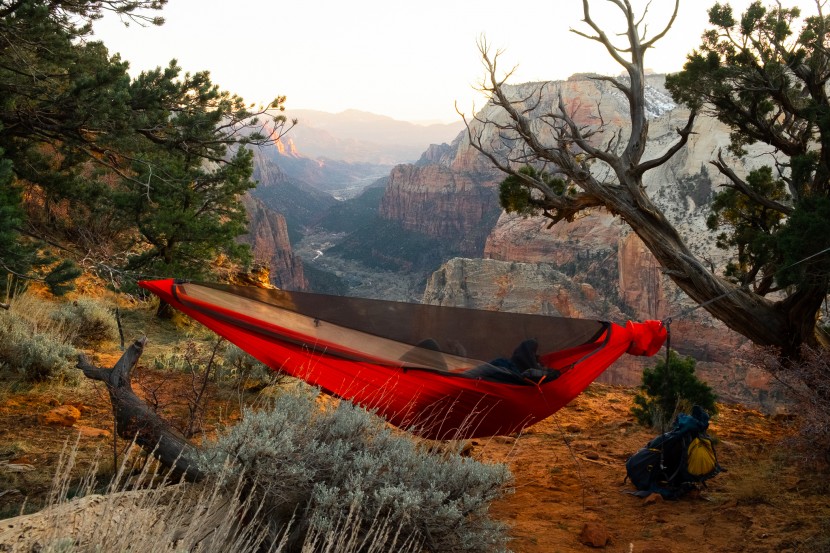
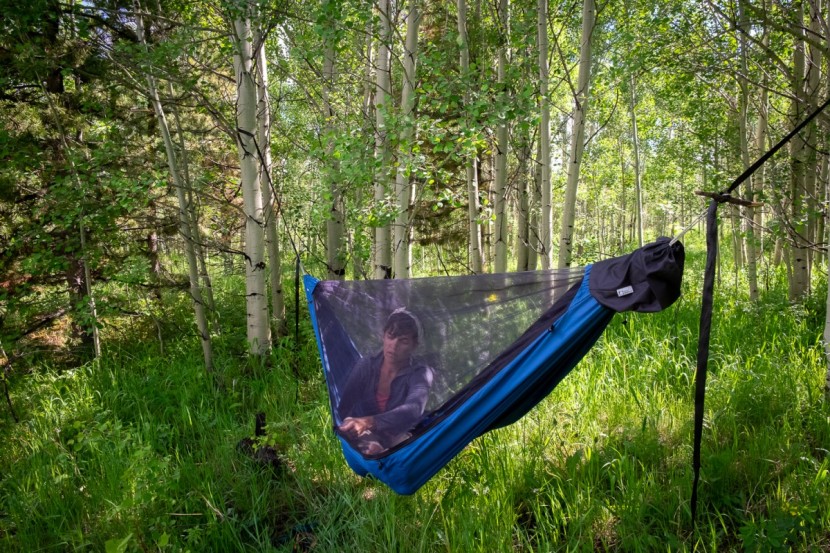
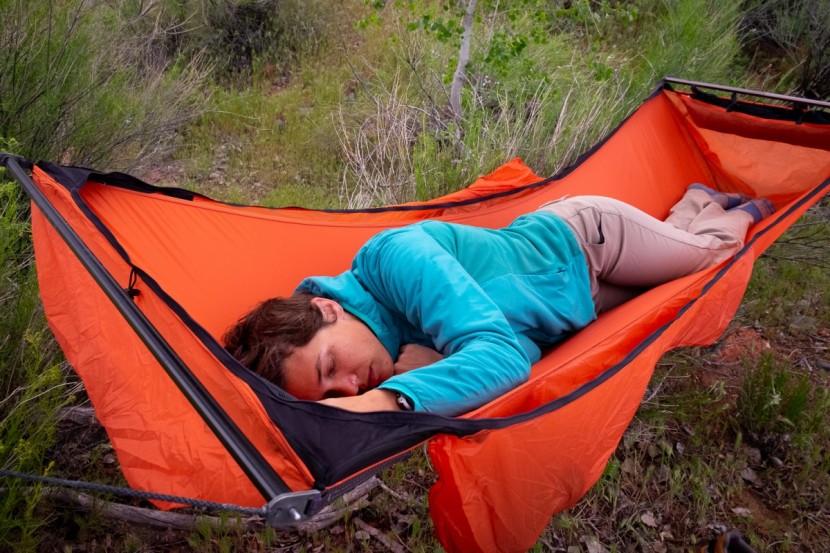
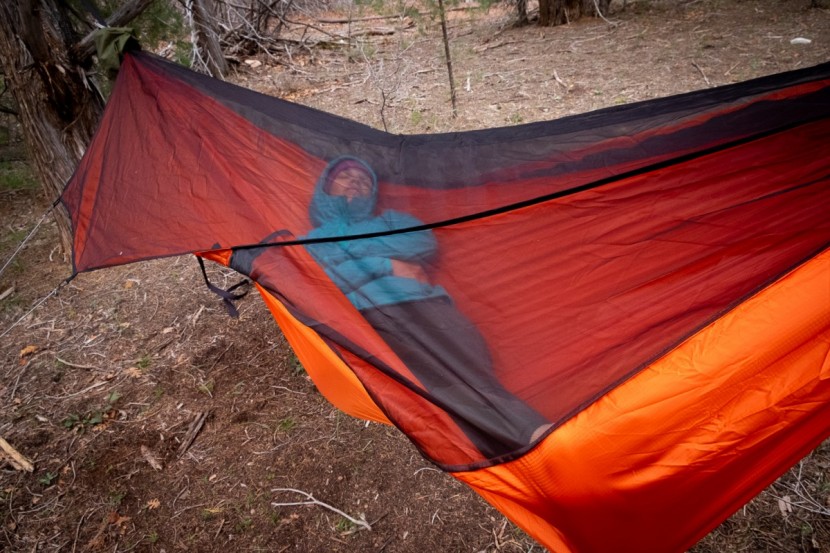
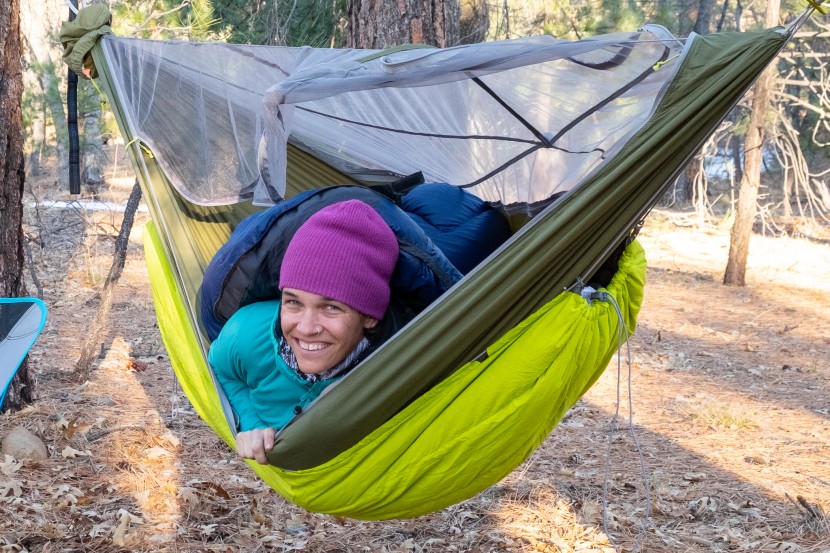
If your plans include using your hammock as your backcountry shelter, you will want to be a little more diligent in your research. Consider whether you will be camping in areas where bugs can be bothersome. Is a removable bug net important to you? If you also want to use it for casual lounging in the backyard or sitting with a friend, you may not want to have bug netting or a low ridgeline in your way. Some models we tested have sewn-in bug netting, which is lighter but doesn't allow you the flexibility to save weight and ditch the net when you don't expect many flying pests. Others have bug netting that either zips off or is a sock-style that fits around the entire hammock without being attached, which both can be removed to save weight when you don't need them.
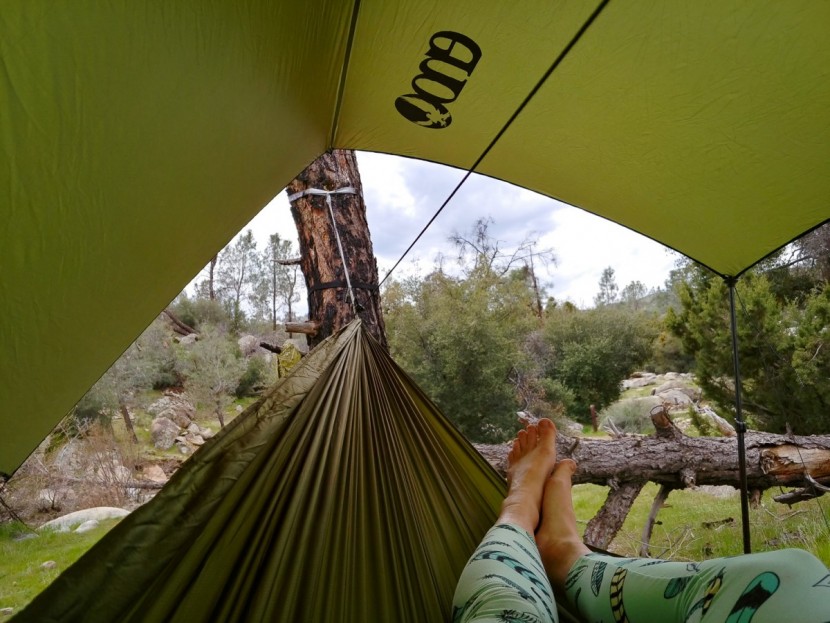
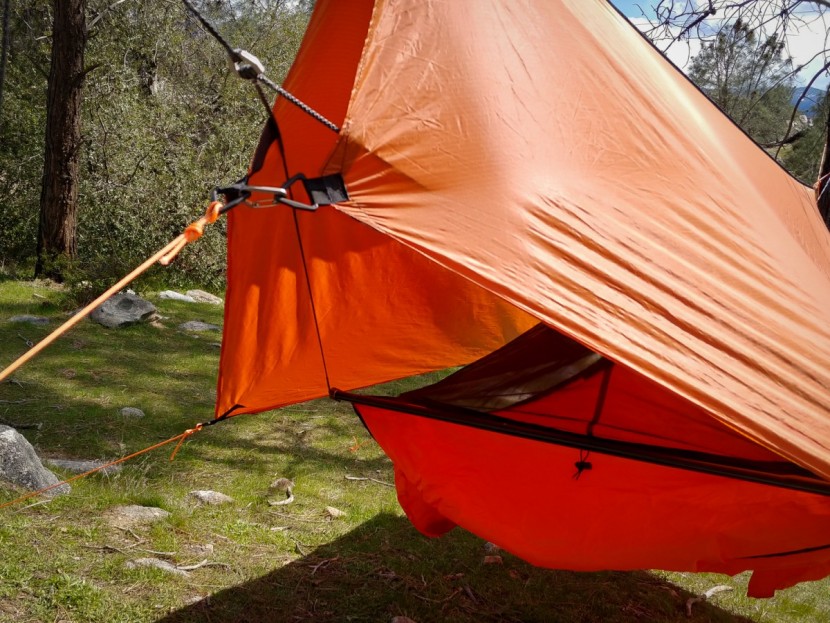
Also, consider the weather — some folks may be perfectly happy to go rambling about in downpours and windy snowstorms, while others check the daily forecast up to the last minute. You should purchase a shelter that allows you to camp the way you like. Some systems include a minimal tarp that needs to be pitched just right and doesn't protect from gusty winds. Others have options for rain flies that look almost like an A-frame tent and can block out whatever the weather can throw at you.
While you want to get comfortable in day-use applications, it's a critical component for overnight applications. If you haven't slept overnight in a hammock before, try some extended lounging sessions at a local park. How long can you comfortably stay still? This can help you determine if overnight camping is something you could enjoy. Sleeping in a hammock can take some practice. Yet, highly engineered models are typically vastly more comfortable because they help you get your legs flatter than a standard curved end-gathered hammock where your knees can feel hyper-extended.
Weight becomes an important factor if you use your hammock as an overnight shelter, along with everything else you carry on your back. Many ultralight models can really shave ounces, but they tend to sacrifice size and comfort to achieve that goal. However, we found some pretty impressively comfortable options that kept the weight lower than most lightweight tents.
Crossover and Mix & Match
If you are just getting started, you may want a model that is easy to set up and small enough to pack in your day bag for more casual use but has a la carte components to allow you to get more adventurous on overnight trips slowly. Some styles we tested performed well in various settings, from hanging out with friends at a park to long-distance backpacking, where weight and protection are top priorities. These models keep the material light yet wide enough for comfortably sharing your space with a friend during day use. They offer removable bug netting and various components you can select to make your system as unique as your varying trip plans.
Body Type and Sleeping Positions
Next, consider your preferred sleeping position and body type. Your height and weight are the top parameters to consider, as bigger, heavier people will want wider, more durable models, and smaller users who want to reduce bulk in their pack may prioritize a lightweight option. Despite the best tension and body-position adjustments, a narrow, minimalist model is unlikely to feel good for a broad-shouldered, 200-pound person. Likewise, someone who's petite may feel suffocated by excess fabric draping over their face in a larger model. The manufacturer's specifications will give you absolute weight limits and physical dimensions, which don't necessarily align with comfort.
Most of us have pretty strong sleep preferences: back, side, bent leg, or fetal curl. After years of laying flat, learning to best sleep in a hammock can take time, but you don't have to revamp your sleep position completely. Hammocks are best for those who are flexible and willing to adjust their sleeping position to a back or fetal position. However, with the various designs we tested, we found options to accommodate almost any position. The goal is to get your body as flat as possible, and versions with spreader bars do the best job if you are 100% committed to your side or even stomach-sleeping position.
Fabric Length and Width
Labels can be misleading, but measurements don't lie. Two “double” models from different manufacturers are likely different sizes. Additionally, the weight-bearing capacity isn't necessarily an indicator of how many people you'd feel comfortable sitting with on it, like a tiny hammock with a 300-pound weight limit. For that reason, rather than label each model as “single” or “double” (unless it's part of the name, of course), we've measured each one end to end and side to side, so there are no surprises about how large the sleeping area is. We have yet to test a model labeled “double” that we would feel comfortable spending a whole night in with another person, but if you know of one, please enlighten us.
After spending a chunk of time in online forums and a lot of time in the hammocks themselves, we agree with the internet consensus: 11 feet is the ideal length for end-gathered models. If you are shorter than five feet, six inches, then a 10-foot model might be your ideal length, and we were able to get perfectly comfortable in many models shorter than 11 feet, but when we stretched out in that glorious eleven feet, the fabric spread for our feet and head so much more naturally. We found that added width can make a shorter model feel longer, so consider both measurements when shopping.
The Diagonal Lay
One might assume that the best way to sleep is lengthwise, with the head and feet aligned with the anchor points. While that might be comfortable for a short while, it puts the body at an odd angle and can create uncomfortable hyperextension of the knees during a full night's sleep. The ideal way to sleep is to angle the body slightly diagonally, with your hips and shoulders at the same height and your feet slightly elevated.
Some models are built asymmetrically to accommodate this position better. Some have incorporated asymmetric bug netting to pull the fabric into the optimal position. It's also easier to achieve this diagonal angle in wider models, which is one reason why roomier designs can be more comfortable.
Rain Protection
You know what they say about weather forecasters; it's the only job where you can be wrong most of the time and still get paid. All kidding aside, going into the backcountry without a shelter that can protect you from surprise downpours can be an uncomfortable, if not downright dangerous, choice. A rainfly should be a priority if you plan to skip the tent and opt for a suspended shelter. Some of the options we tested are sold as packages with a rain fly specifically designed for the model included. Others have the option to purchase a variety of tarps. Even if the model you choose doesn't offer rain protection, that certainly doesn't mean you can't shop around the other brands and get a great tarp for your use.
Tarp Size and Shape
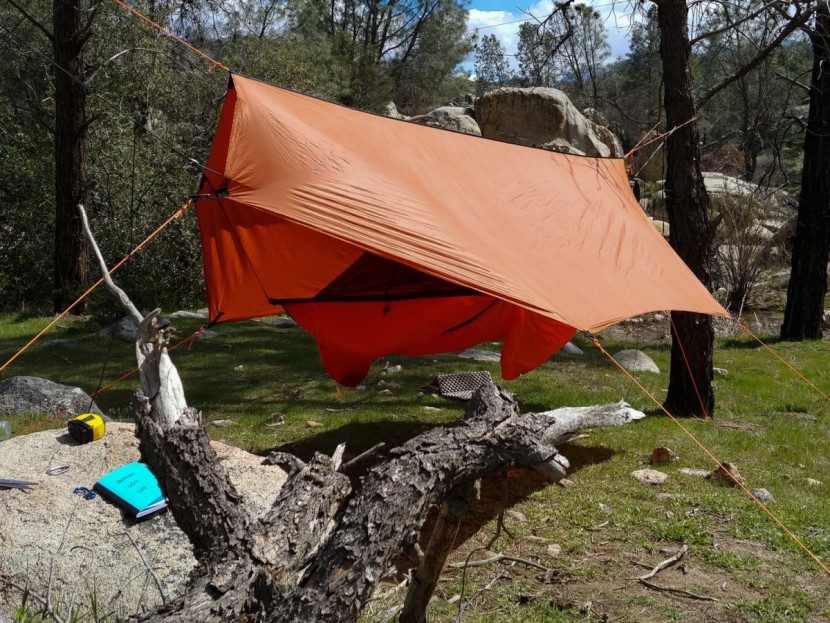
Tarps are not all created equal. We tested various shapes and sizes, and many more are on the market. The smallest type of tarp used is the diamond-shaped tarp. This style has two pointed ends that attach to the tree or suspension straps and two other pointed corners meant to be staked out to the ground or tied to nearby trees. This style provides the least protection from rain and very little protection from wind.
A rectangular (or modified rectangular) tarp gives extra coverage from blowing rain for wetter and windier conditions. Instead of two corners staked to the ground, four are spread out for a traditional tarp shelter. Of course, this still doesn't account for rain potentially blowing in at the ends, though.
Some companies make rectangular tarps with added “beaks” on either end for the best coverage in the worst conditions. These “beaks” fold around the suspension straps and provide rain and wind blocks at the far ends of the hammock. The length of these beaks ranges from around 12 inches to beaks that reach all the way to the ground.
The worse the weather, the farther down you want your tarp to come. If you plan to camp in colder climates, a larger tarp will not only stop the rain or snow but also help keep you warmer by blocking more wind.
Bug Protection
Many of the models we tested were designed for backcountry use and came with integrated nets, some fully detachable to increase the hammock's versatility. Even if you only use your hammock as a comfy spot to read, you may want to pack along a net if you are trying to relax in buggy areas.
If your favorite model doesn't offer a bug net, don't despair. These can be added to any model. Certain brands make bug netting that fully surrounds the hammock and can be used with any model out there. Some netting models come with bonus features like a spreader bar to keep the net off your face or a zippered entry, so you don't have to pull the net on like a sock every time you get in and out.
Insulation
Because you float above the ground, air circulates underneath you, not just over you like in a tent. This is a fantastic bonus when it's hot and muggy outside, but not so much when there's a slight chill in the air. It doesn't have to be all that chilly — as soon as you reach more moderate temperatures, like 65 to 70°, you will notice a difference in the heat loss below you.
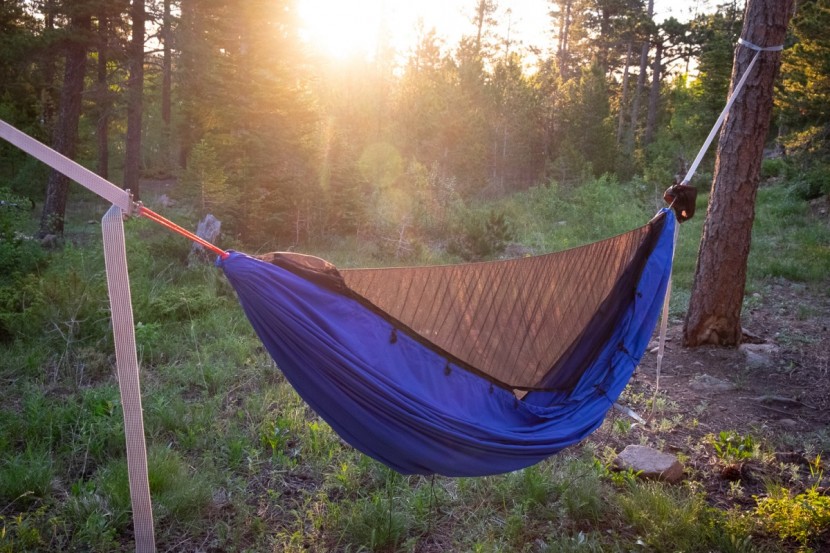
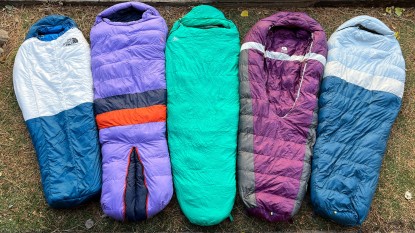
Creative campers of the past have come up with some pretty great solutions to combat this issue. The simplest is simply sticking a sleeping pad inside the hammock with you. High-tech options include down-filled quilts that hang beneath and hug the bottom of the hammock, trapping your warmed air against you. The double-layered fabric allows you to slip a sleeping pad inside and not have to wrestle with it in your sleeping space.
Sleeping Pad
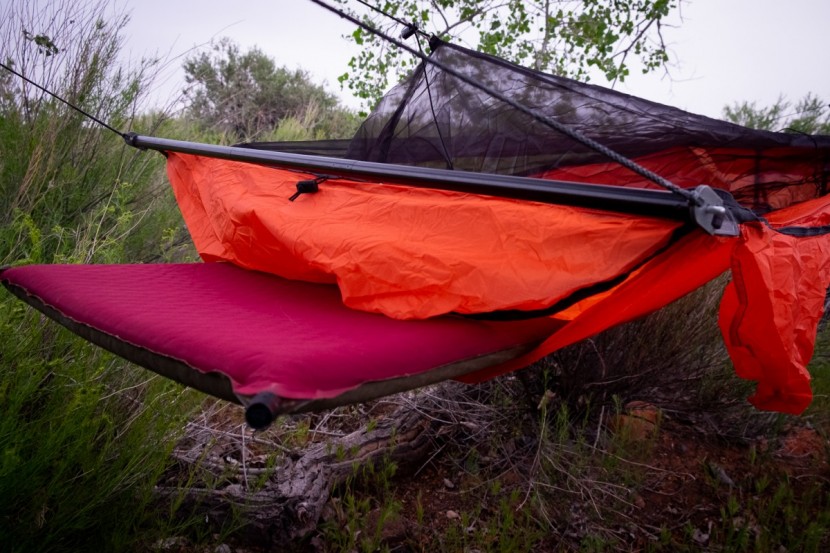
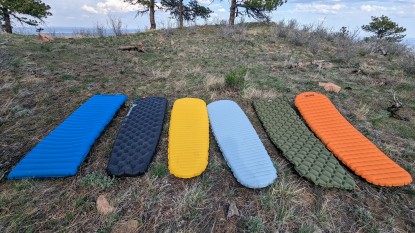
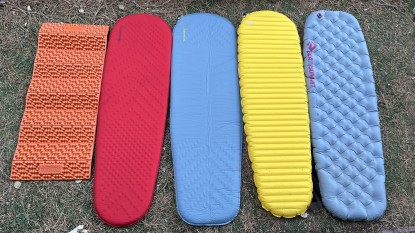
The easiest fix is to line your hammock with an extra blanket, a car's windshield heat reflector, or a sleeping pad. Weight and bulk are concerns for backcountry use, so a lightweight sleeping pad or reflective heat shield are good options. Because the pad primarily adds insulation rather than comfort in this use, a super thick pad isn't necessary and is often a bit more difficult to use in a hammock, making it hard to balance.
The slipperiness of a sleeping pad can make it tough to keep it in place. It's not fun to wake up cold in the middle of the night with your torso completely off your pad. Some models have the option to double up on the body fabric, creating a pocket that holds your pad more or less in place.
If you don't have that extra layer, you can stuff your pad into your sleeping bag to keep it from sliding around. If you're also in the market for a new sleeping bag, consider an integrated sleep system where the sleeping pad slides into the back of the sleeping bag; that way, you're always lying on top.
Underquilt
If you want to spend a bit more money for added warmth, many manufacturers sell underquilts — insulating sleeping-bag-like blankets (often down-filled) that hang right below you. These keep you cozy because your body weight doesn't compress the insulation like it does in just your sleeping bag. This option can be a little more forgiving of your nighttime tossing and turning because the quilt often extends to the edges of the hammock rather than just the 20-inch to 25-inch width most sleeping pads come in. The best models for this type of insulation have hooks or clips on the sides to attach the quilt and keep it from shifting around.
Underquilts also eliminate the cold shoulder you'll get using a sleeping pad. This phenomenon has nothing to do with your friend ignoring your repeated invites to go hammock camping, but is because your sleeping pad doesn't wrap around your body while the hammock fabric does. The fabric compresses your sleeping bag insulation in the process. Some models even come with attachment points specifically for underquilts. If you're in the market for an underquilt, we really like those that offer an adjustable shape and a moderate price-to-weight ratio. A higher price tag often uses a downfill that reduces the weight and bulk for packing.
Budget & Weight
Depending on your level of commitment, our tested models range from simple versions that are extremely affordable to options that cost a fair deal more, especially for a serious backcountry setup with all the added bells and whistles for harsh weather. The top contender's weights range from ultralight to lighter than all but the most ultralight tents. However, it's important to look into what accessories you'll need to add to your system to make them usable and comfortable. Some require carabiners, suspension systems, rain flies, and stakes as accessories. With all these add-ons, some systems reached just over three pounds, comparable to many backpacking tents.
Getting Pitched
Developing the perfect pitch is the most fun part for some of us. We read various websites and forums dedicated to the best way to rig up your hammock for various uses and scenarios. It is also a great idea to read what the manufacturer says regarding the specific model you purchase. There are variations in the recommendations for things like how far apart your trees should be and tips and tricks for any accessories.
Generally, you want your suspension system to be about head height and at a 30° angle when weighted, putting the seat at chair height. An overly tight suspension puts excessive and sometimes dangerous force on the anchors. However, each model and style differs, and comfort is relative. Take the time to try some different hangs in the front country before heading out on your first trip.
Additionally, many of the models we tested require additional purchase of a suspension system, which is something to keep in mind when considering how much your setup will cost. Others come fully equipped but may still need a few small additions, such as stakes, carabiners, or a ridgeline. Be sure to take a full inventory of your system before heading out, as leaving a piece at home can make the difference between an awesome trip and a “Type 2 Fun” tale to tell friends after your return.
Suspension
You have lots of options for how to hang your hammock. If your chosen model doesn't come with a suspension system, you can purchase one (there are plenty to choose from, in varying lengths, materials, and styles) or rig up your own system.
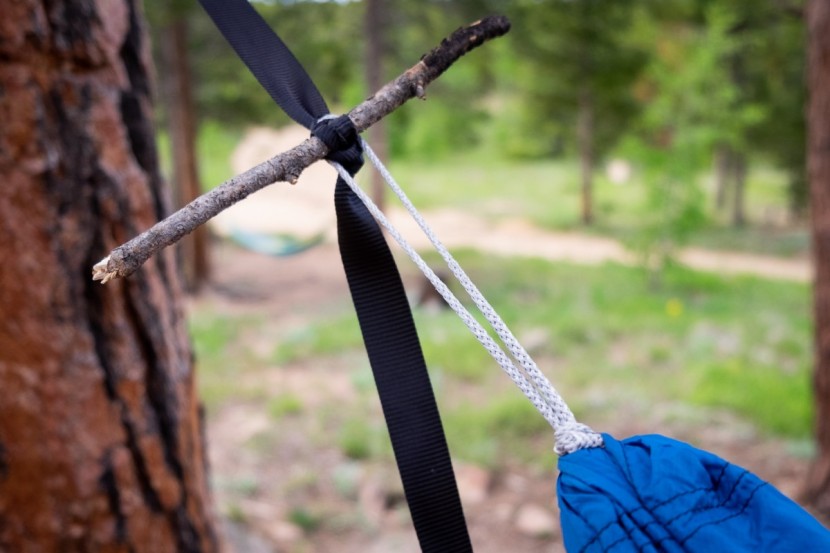
Never suspend your hammock on a living organism (aka tree) with only rope. If you decide to use a rope system, please generously pad your rope to protect the life of the trees that provide you comfort, shade, and oxygen. An easier solution is to upgrade your system to 1-inch or wider trunk straps, which are better for the tree. Regardless of where you're camping or what system you already have, it's never a bad idea to bring a few extra feet of webbing to extend your system in case trees and anchors aren't conveniently close together.
Carabiners
Climbing-grade carabiners are ideal for a hammock suspension system. Most models we tested are built with a short cord at either end where the material is gathered, though some lighter models eschew the extra cord, instead threading a carabiner straight through the fabric.
Consider how your system needs to be hung and who will be using it before buying a carabiner — you don't want to find yourself on the ground due to using a carabiner that isn't properly weight-rated. Our favorite carabiners, which you can read about here, are lightweight wire gate models.
Ridgelines
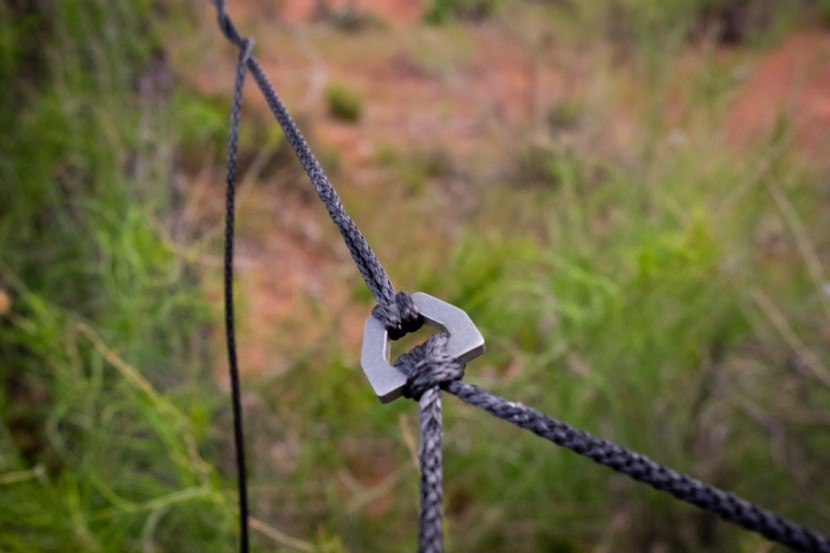
Ridgelines attached to either end of your hammock are optional for most models and can help maintain the proper amount of sag. This is great when you can't find anchor points at the ideal distance apart for the length of your system. They can also take extra pressure off your anchor points, help provide a steadier/less tippy lay, and give you a place to hang pouches or gear. The recommended starting point for the length of your ridgeline is 83% of the length of your hammock and shouldn't be so tight that you can't bend it. Did your eyes just glaze over at the mention of doing math? Don't worry; it's just a one-time thing to give you a measurable starting point. From there, you can experiment and adjust to your personal comfort.
A ridgeline can also be as simple as a piece of cord tied to the trees at either end to give you something to drape your tarp over, hold your bug net off your face, or hang accessories from like a pouch for your headlamp and book.
Heels Over Head
No, not head over heels. By reading advice on various forums and manufacturer websites and our hands-on testing, we found that the most comfortable pitch will come from having the head end around 10 to 15 inches below the foot end.
This winning position is easily achieved by either hanging the suspension 10 to 15 inches higher on the foot end or by tensioning the suspension so that the head end is farther from the tree. When you first look at it, you'd think you would feel upside down, but in reality, this pitch puts your torso nice and flat and gives your feet a wide section of the hammock, which cuts down on the foot squeeze that end-gathered models often inflict on the user. We also found through many nights camping that when we hung both ends at equal heights, we slowly slid down in the hammock, waking up to find our feet pinched in the end. Try it out with your favorite hammock and see what you think.
Camping Tip — Look Out for Widow Makers
As a final note, be cautious with anchors before using them. Avoid old, dead trees and branches or “widow makers.” Don't use them as anchor points or camp beneath them. Make sure every anchor point is bomber. We prefer trees at least 8 inches in diameter. If you are unsure if the tree is strong enough, throw the strap around it and tug at it — does it sway much? If so, look for a new anchor. Consider how much weight will be stressing the tree before committing to a night hanging off of it.

